
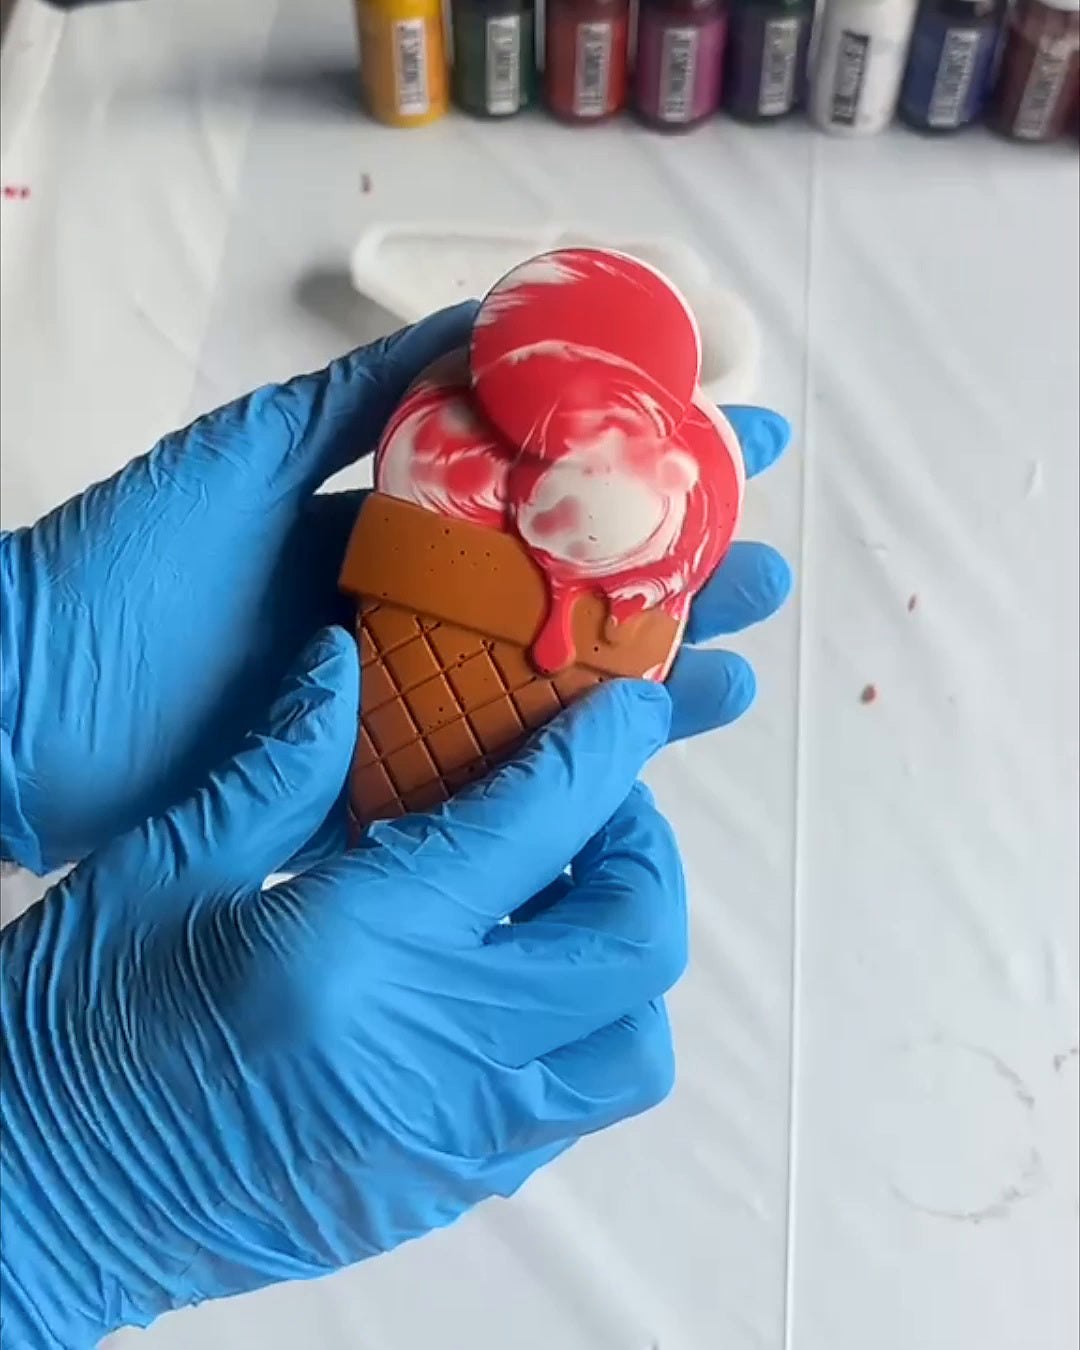
This ice cream-shaped piece looks detailed, but the technique behind it is surprisingly simple.
The trick is to build the colours inside the mould first, then pour a final Jesmonite backing layer over everything.
It gives you crisp details on the cone, a marbled ice cream effect and a clean finished piece when you demould it.

What You'll Need
-
Jesmonite® AC100
-
Jesmonite® pigments
-
Silicone ice cream mould
-
Digital weighing scale
-
Mixing cups
-
Mixing sticks
-
Gloves
You can change the colours completely depending on the look you want.
Step 1: Make the Ice Cream Cone
Start by preparing a small quantity of Jesmonite and tinting it to a warm brown shade.
Carefully pour the coloured Jesmonite into the cone section of the mould.

Try to keep the material within the raised cone area so the detailing remains clean.
Step 2: Add the Ice Cream Colours
Prepare separate batches of coloured Jesmonite for the ice cream.
Here, red and white are used together to create a strawberry-and-cream look.
Pour small amounts of each colour into the ice cream section rather than completely mixing them beforehand.

Step 3: Create the Marble Effect
Use a thin stick to gently move the colours through one another. (if required)

You don't want to mix them until they become one solid colour.
A few controlled swirls are enough to create visible streaks and movement once the piece is demoulded.
This is what gives the ice cream its marbled appearance.
Step 4: Let the Detail Layer Set
Allow the coloured Jesmonite to begin setting inside the mould.
Giving the first layer some time before adding the backing helps prevent the colours from becoming disturbed during the next pour.
Step 5: Pour the Backing Layer
Prepare a larger batch of Jesmonite for the main body of the piece.
Pour it across the back of the mould until the entire shape is filled.

This final layer connects all of the smaller coloured sections and turns them into one solid casting.
Gently tap or vibrate the mould to help release trapped air bubbles.
Step 6: Allow the Jesmonite to Set
Leave the casting undisturbed until the Jesmonite has hardened sufficiently to demould.
Avoid removing it too early, particularly around thinner areas and detailed edges.
Step 7: Demould Carefully
Begin peeling the silicone mould away from the Jesmonite rather than pulling aggressively on the casting.

As the mould comes away, the cone texture and coloured details that were created first are revealed on the finished face.

The Final Result
The finished piece combines three different effects in one casting:
-
A detailed brown waffle cone
-
Red-and-white marbled ice cream
-
A clean Jesmonite backing
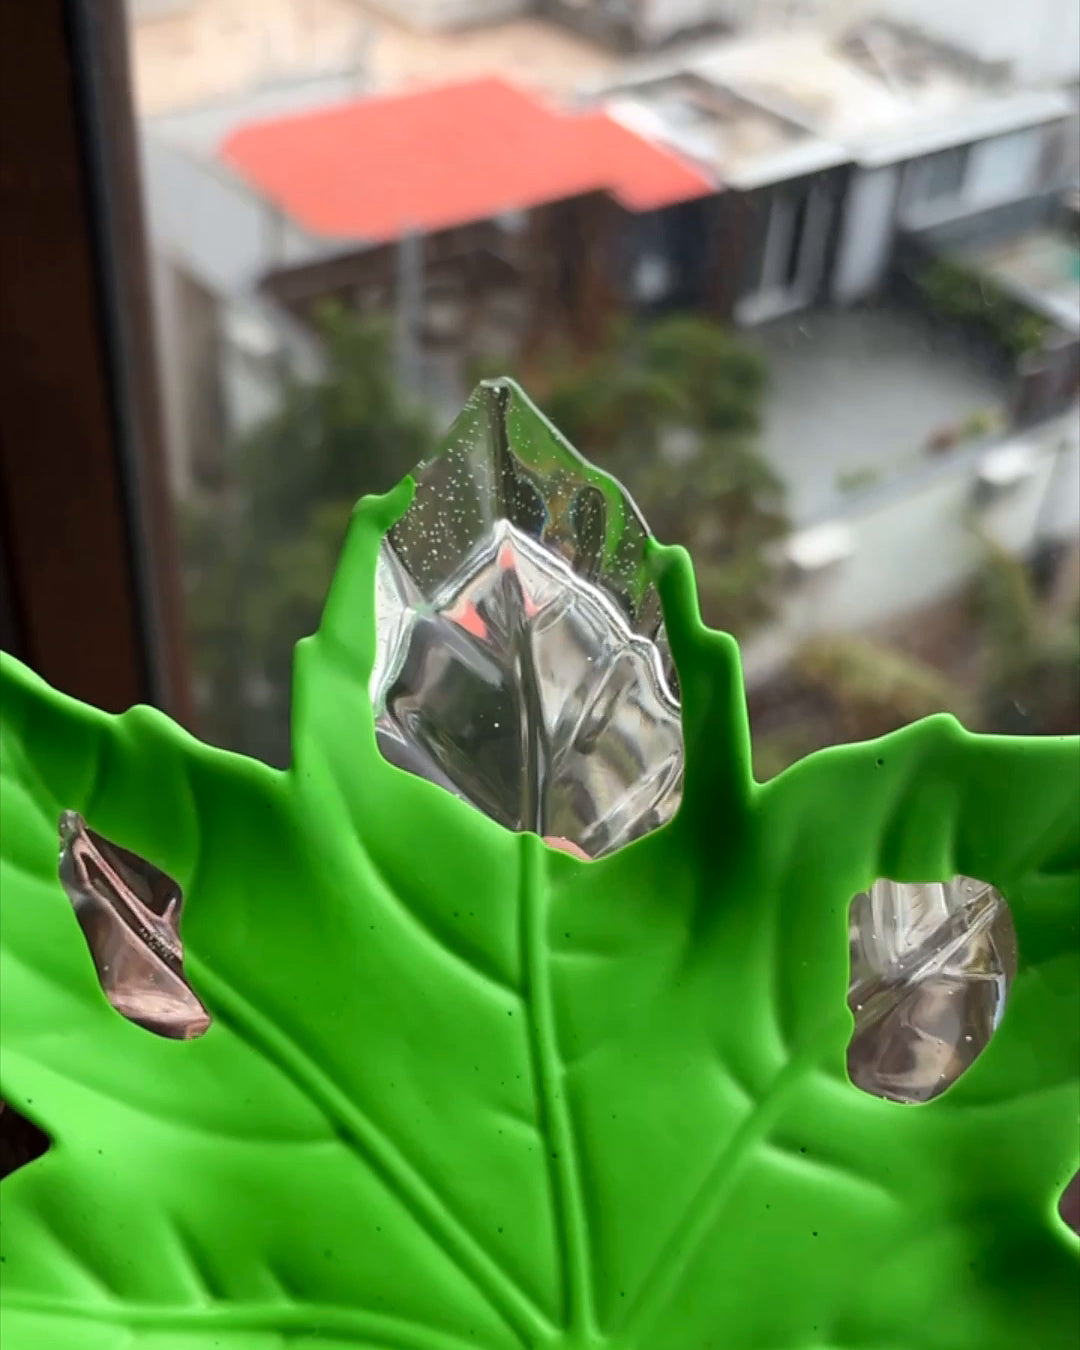
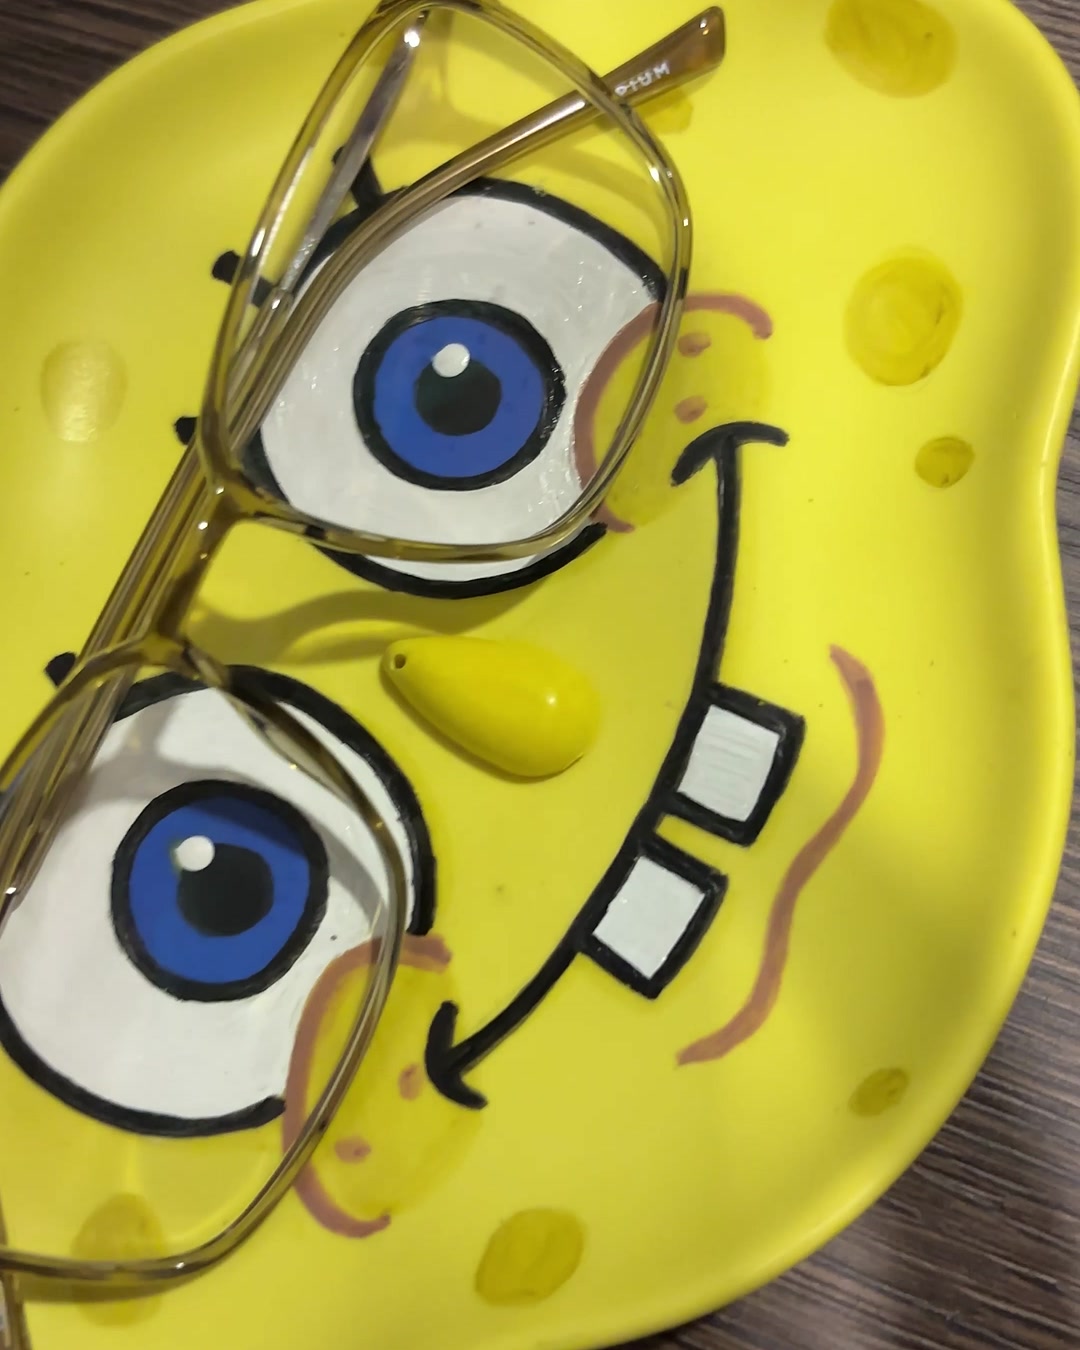
The same technique isn't limited to ice cream moulds.
You can use detail-first casting whenever a silicone mould contains separate raised or recessed sections that you want to highlight with different colours.
It works particularly well for trays, coasters, decorative objects and detailed moulds where simply pouring one colour wouldn't make the design stand out.

Leave a comment
This site is protected by hCaptcha and the hCaptcha Privacy Policy and Terms of Service apply.