
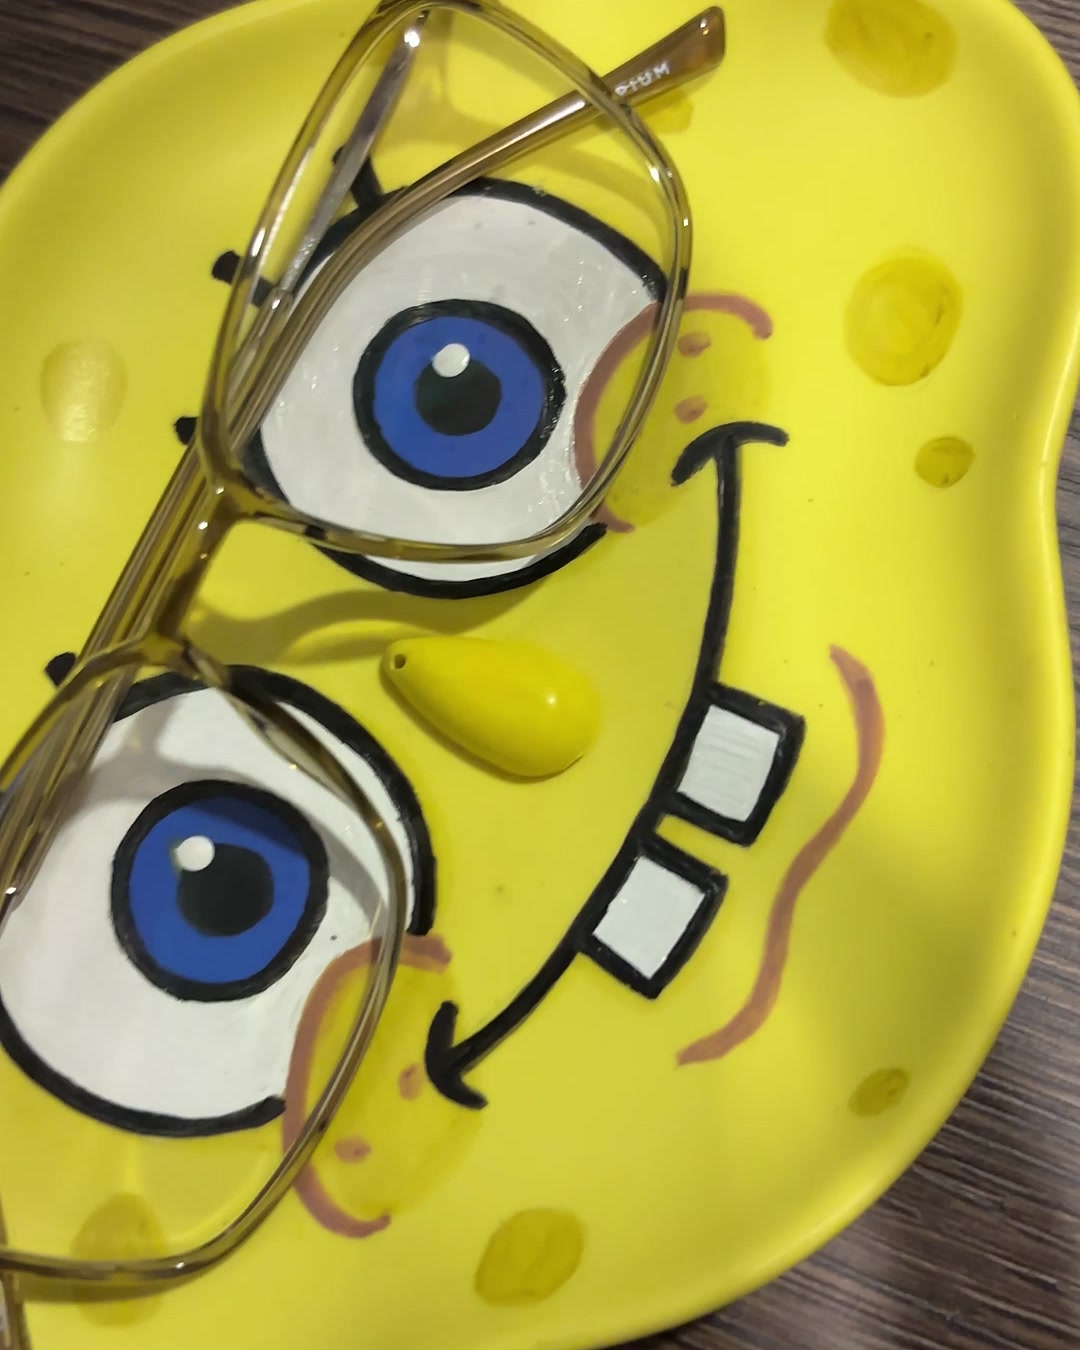
Looking for a fun way to use Jesmonite® AC100? This SpongeBob-inspired glasses tray is a playful project that combines simple casting with hand-painted details.
The process is straightforward: measure your Jesmonite®, mix it thoroughly, pour it into the mould, allow it to set and then bring the piece to life with paint.

What you'll need
- Jesmonite® AC100 Base
- Jesmonite® AC100 Liquid
- Yellow Jesmonite® pigment
- Silicone tray mould
- Digital weighing scale
- Mixing cup
- Mixing stick
- Acrylic paints for the details
- Paint brushes
Step 1: Measure the Jesmonite® AC100
Jesmonite® AC100 is mixed at a ratio of 2.5 parts Base to 1 part Liquid by weight. Use a digital weighing scale so your measurements stay accurate.

Step 2: Add the yellow pigment
Add a small amount of yellow Jesmonite® pigment to the liquid. Start with less pigment and increase it gradually until you reach the shade you want.

Step 3: Mix thoroughly
Add the Jesmonite® Base to the pigmented liquid and mix thoroughly. Scrape around the sides and bottom of the cup while mixing so there are no pockets of unmixed material.
Continue mixing until the material becomes smooth and the colour looks even.
Step 4: Pour into the mould
Slowly pour the mixed Jesmonite® into your silicone mould. Pouring steadily helps the material flow into the smaller details of the design.

Step 5: Help release trapped air
Once the mould is filled, gently tap or vibrate the sides of the mould. This helps trapped air rise out of the Jesmonite® and allows the material to settle into the finer details.
Step 6: Allow it to set
Leave the mould undisturbed while the Jesmonite® sets. AC100 develops strength quickly, but avoid rushing the demoulding process, especially when the design contains smaller or more detailed sections.
Step 7: Demould carefully
Once the piece has set sufficiently, gently pull the silicone mould away from the Jesmonite® rather than forcing the cast out.

Step 8: Add the character details
Now comes the fun part. Use acrylic paints and a fine brush to add the eyes, mouth, clothing and other details.
Instead of trying to finish everything with one heavy coat, build the artwork gradually using several controlled layers.


The finished piece
Once the paint is dry, your tray is ready to use. The raised character design creates a fun place to keep your glasses while also showing how easily a simple Jesmonite® casting can be customised after demoulding.

A few things worth remembering
- Always measure Jesmonite® AC100 by weight.
- Use the correct 2.5:1 Base-to-Liquid ratio.
- Add pigment gradually rather than adding too much at once.
- Mix thoroughly, including the sides and bottom of the cup.
- Tap the mould after pouring to help release trapped air.
- Allow the cast to set properly before demoulding detailed shapes.
Ready to make your own? Explore Jesmonite® AC100, pigments and silicone moulds at BohriAli.

Leave a comment
This site is protected by hCaptcha and the hCaptcha Privacy Policy and Terms of Service apply.