


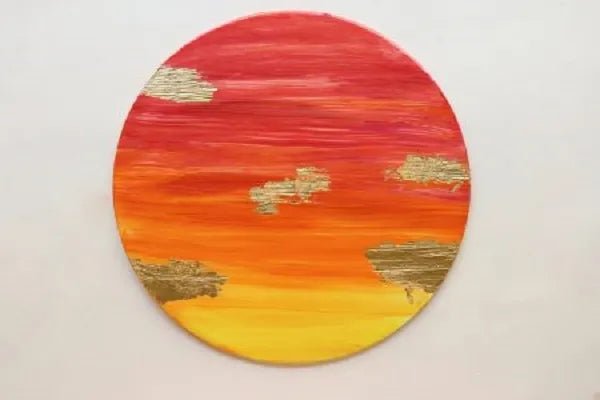
Geode Resin Paintings are quite the trend worldwide right now and we have had a couple of you ask us how they can make their own pieces inspired by it!
In this blog, we will know about the material used and easy comprehensive steps to make your own geode resin art or geode resin wall art. Follow these steps to create your own masterpiece with Haksons Resin & Hardener . Get ready to unleash your creativity!
Materials Used:
- Haksons Fluorescent Powders – Violet
- Haksons Opaque Pigments – White
- Haksons Pearl Pigment Powder – Rich Gold
- Acrylic Paint – Prussian Blue, Deep Magenta and Titanium White
- Gemstone Chips – Amethyst
- Plywood – 18 x 16 inch
- Paint Brush
- Levelled Surface
- Plastic Sheet
- Heat Gun
- Powder Free Disposable Glove
- Plastic Container
- Paper Cups
- Plastic Measuring Spoons
- Wooden Sticks
Process
Step 1 – Prep your wooden surface with two coats of the Titanium White Acrylic Paint.

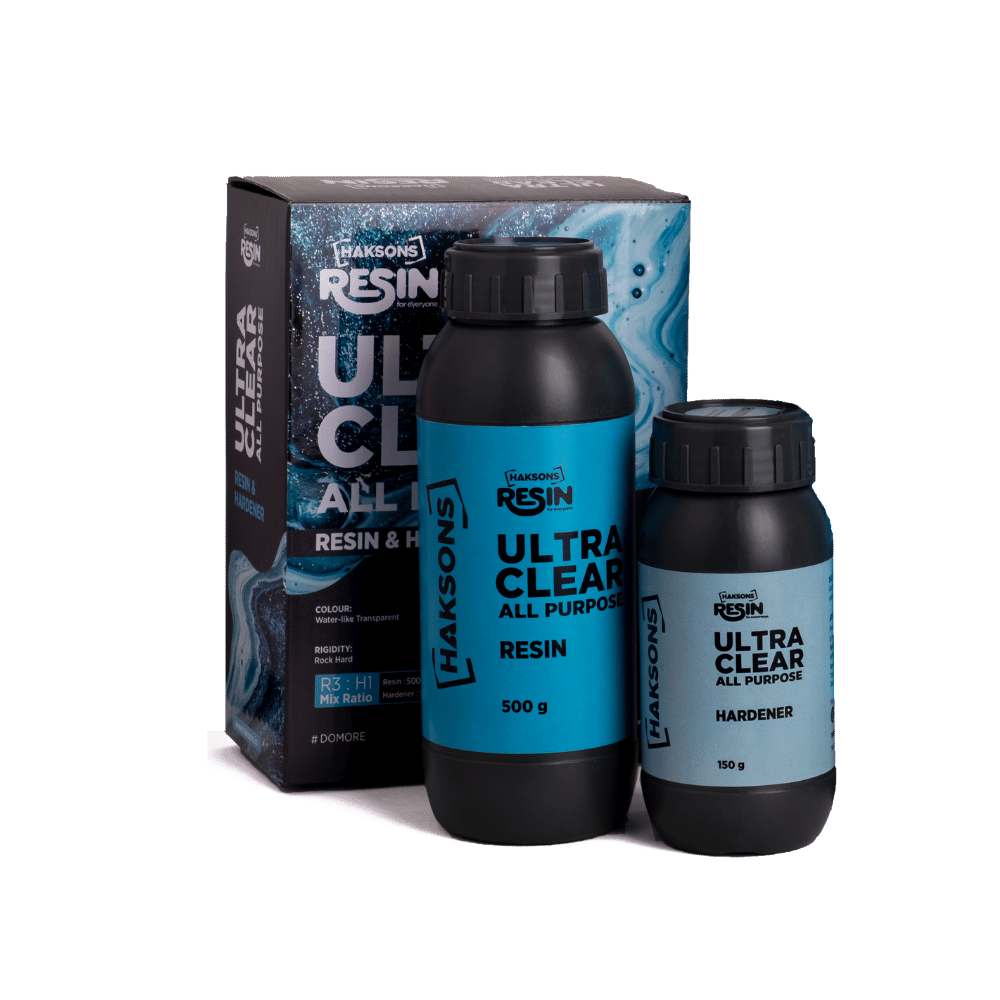
Step 2 – Mix the Haksons ultra clear resin and hardener in a 3:1 ratio, for this particular technique double the amount of resin you would normally use for the same area. This is mainly because we will wait for the resin to thicken before we pour to create a beautiful doming effect, it is best to mix more, to begin with.

Step 3 – Once the resin has been cured, divide it into 5 different cups, in every geode, there are different tones of the same crystal so to mimic the effect we must use a dark tone, mid tone and light tone. To achieve the darkest tone mix Deep Magenta and Prussian Blue Acrylic Paint with the resin, mid-tone the Haksons Fluorescent Purple Powder and for the light tone, Deep Magenta Fluorescent Acrylic Paint .The most mesmerising aspect of the Geode painting is the separation between the different colours to achieve this effect you must wait until the resin beings to set to a more honey-like consistency before pouring.
Step 4 – To create the centre of the Geode resin art , lay down some Amethyst Chips in any shape you like. Next, pour the resin over the chips this will ensure the resin automatically seeps below the stones and embeds them within. You can use a wooden stick to perfect the outline, and add some more chips once you are happy with the shape.

Step 5 – Now it’s time to pour the lines, make sure your resin is more honey-like and this step will be extremely easy! Just freely move your paper cup in the shape you want your line to be. If the lines are too thin you can always go over the same area. Keep building the lines alternating between the colours. Once you’re happy with the design cover and set it aside for 24 hours.

Finally! You have your geode resin art masterpiece ready!


ABOUT THE ARTIST
@krishnatolia – She is a self-taught artist from Mumbai who draws most of her inspiration from nature and loves the conflicting simplicity and complexity of abstract art.
Follow us on Instagram @BohriAli for more such exciting DIY!
Remember! When it comes to creating geode-inspired resin art or geode resin wall art, the choice of materials is crucial for achieving exceptional results. At BohriAli, we offer a wide range of premium resin materials, including the renowned Hacksons ultra clear resin and hardener, fluorescent acrylic paint and more. Our quality products ensure a professional finish and elevate your artwork to new heights. Don't settle for anything less than the best. Explore BohriAli's collection now!
Start Creating Now!

Leave a comment
This site is protected by hCaptcha and the hCaptcha Privacy Policy and Terms of Service apply.