


For all the hobbyists and DIYers, this Diwali we bring you an innovative way to add home decor to your space. In this blog, we have outlined the steps which you can follow to create your own epoxy coffee table.
Materials Used:
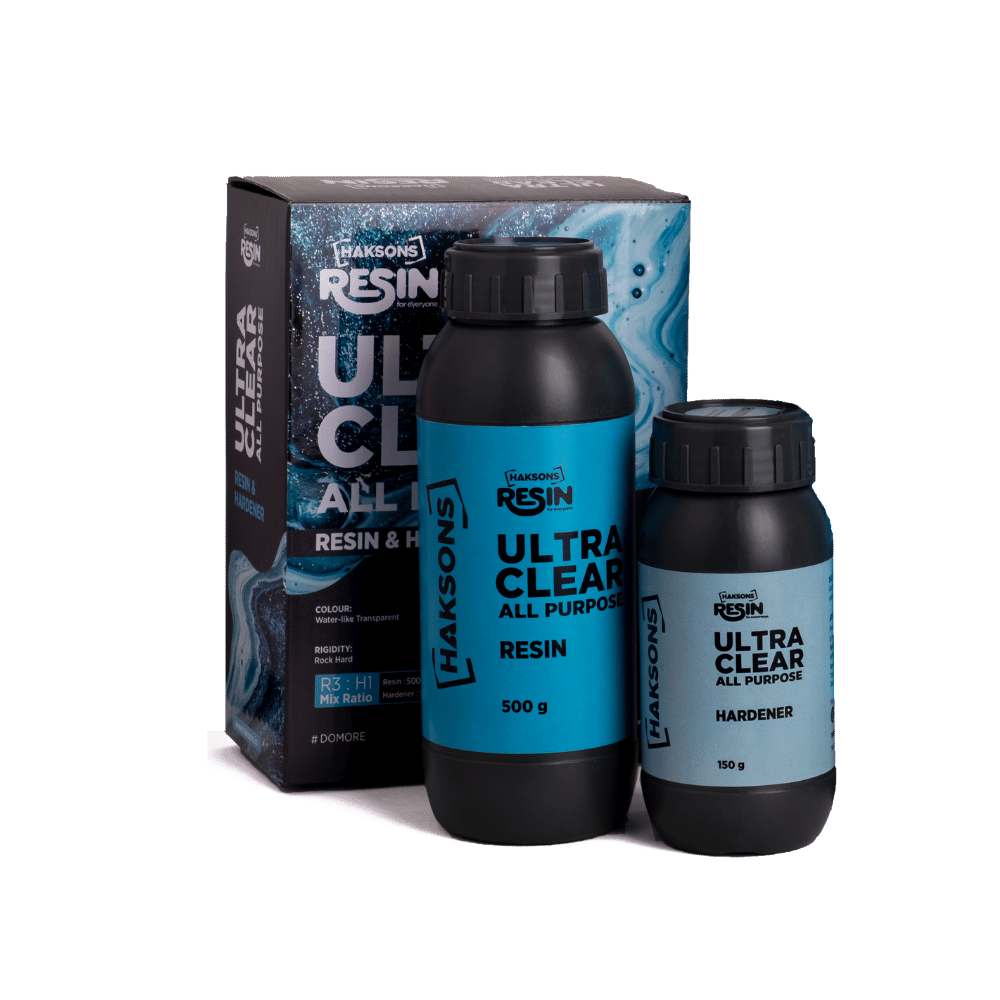
- Haksons Resin & Hardener -Ultra Clear High Gloss Epoxy Resin Coat – Grade I
- Haksons Opaque Turquoise Blue
- Haksons Pearl Powder – White
- Sanding Machine
- SandPaper – 60, 120, 320 Grit
- Clear Packing Tape
- Heat Gun
- Powder Free Disposable Glove
- Cloth
- Wooden Legs
- Scissors
- Face Mask
- Wood Slice
- Plastic Container
- Paper Cups
- Plastic Measuring Spoons
- Wooden Sticks
Process:
Step 1 – Begin by sanding both sides of the wood, starting from 60 up to 320 Grit until they are smooth. Getting rid of any texture or unevenness will help adhere the clear packing tape much better.

Step 2 – To seal the holes, use clear packing tape with at least 4-5 layers, getting rid of any bubbles in between. It is crucial to seal it very well to form the perfect mould for the epoxy resin & hardener.

Step 3 – Flip the wood over and start mixing the ultra-clear high gloss epoxy resin & hardener in a 3:1 ratio. Add the Haksons pigment in blue mixed with the Haksons pearl powder in white for a beautiful metallic finish. You can add more or less blue pigment depending on how opaque you want the top of your table to be.

Step 4 – To get the perfect finish at the end, keep filling your holes up to 1 inch at a time, ensuring you let the resin cure for 24 hours in between.

Step 5 – Once you’ve filled the resin carefully till the top and it’s completely cured, flip the table over and release the packing tape.

Step 6 – Sand the bottom of the table, again starting from 60 Grit to 320 Grit, cleaning the surface with a damp cloth in between layers and checking your progress until you are happy with the texture and the surface is smooth.

Step 7 – Flip your tabletop over and add a coat of polish and attach the legs.

Your epoxy coffee table is now ready to use!

BohriAli offers best epoxy resin for crafts which also includes beginner-friendly epoxy resin diy kit. If you're looking to start working with resin, this kit is perfect for you. With our DIY kit and a little bit of creativity, you can create a stunning epoxy coffee table that's both functional and beautiful. Check out BohriAli's products now!
ABOUT THE ARTIST
@krishnatolia – She is a self-taught artist from Mumbai who draws most of her inspiration from nature and loves the conflicting simplicity and complexity of abstract art.
Follow us on Instagram @BohriAli for more such interesting hacks and DIY ideas.
Leave a comment
This site is protected by hCaptcha and the hCaptcha Privacy Policy and Terms of Service apply.