


Every room is designed in a different way so why not bring some interest to the walls and create a piece to suit your aesthetic?
Here’s how you can DIY your own resin clock!
Materials Used
-
Haksons Resin & Hardener -Ultra Clear High Gloss Epoxy Resin Coat -Grade I – 180ml
-
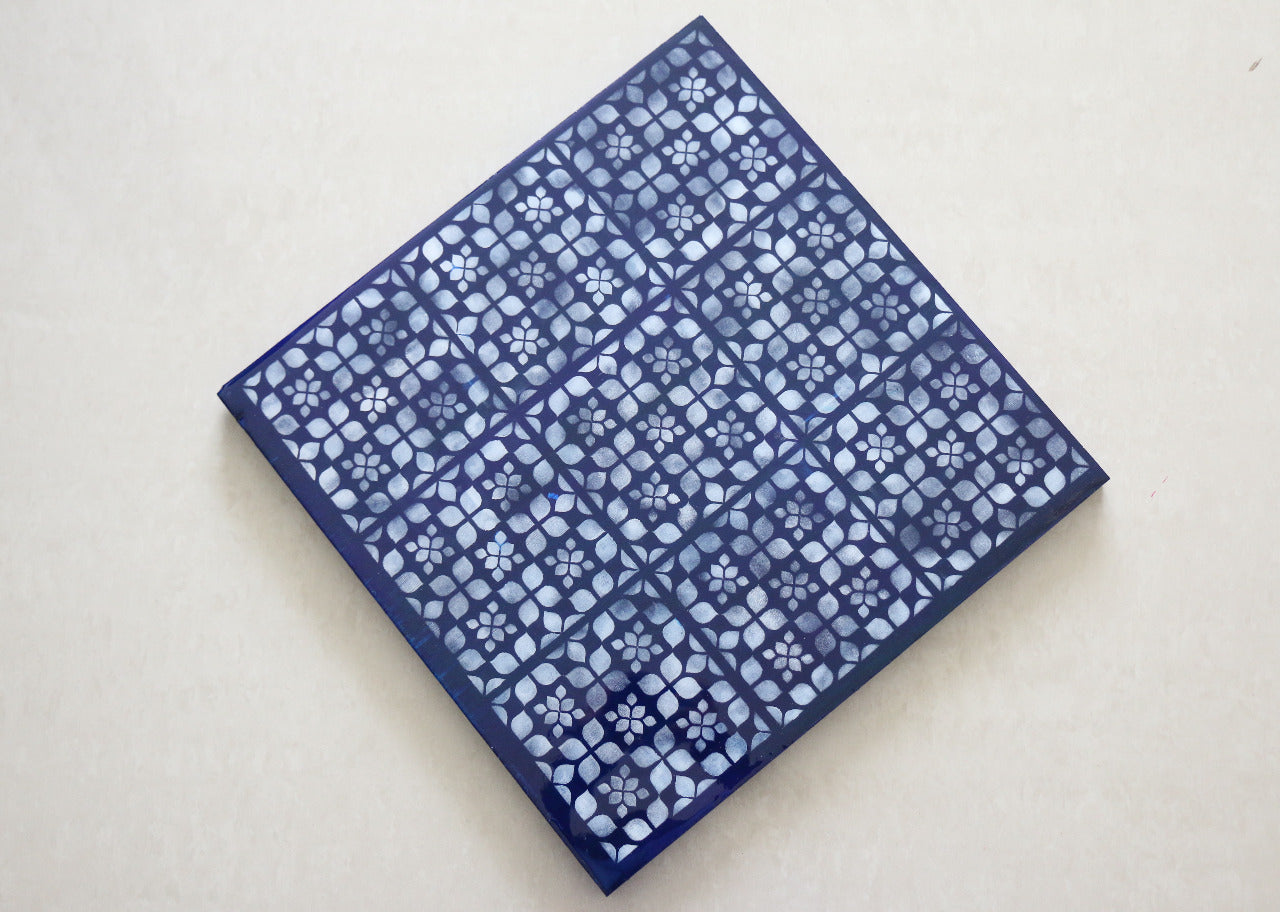
mdf clock base for resin
-
Wooden Sticks
-
Paint Roller
-
Plastic Container
-
Plastic Measuring Spoons
-
Level
-
Drill Machine
-
Clock Mechanism
Process
Step 1 – On a levelled surface prime your MDF Clock Base using a paint roller with 2 coats of any acrylic paint colour you wish to be the background colour for your resin clock .

Step 2 – Mix your resin, while it cures bring together the pigments and powders you want to use. To blend the pigments, scoop some on a wooden stick and mix it in with the resin until it’s completely opaque. You will only need a small amount as a little goes a long way.
Step 3 – Layer your different resin mixtures on top of each other to create the desired pattern. When you’re happy with the outcome use the Artist Blow Torch to get rid of any bubbles.


Step 4 – Once the mdf resin clock is completely cured drill a hole in the centre to perfectly fit the clock mechanism. Rest assured the drilling process will not cause any damage to your artwork!


Awesome! Your resin wall clock masterpiece is now complete!
With the help of BohriAli's easy-to-follow steps and the right materials, you can effortlessly create your own unique resin wall clock today!
So why not give it a try? Shop from BohriAli now and begin your creative journey!
ABOUT THE ARTIST
@krishnatolia – She is a self-taught artist from Mumbai who draws most of her inspiration from nature and loves the conflicting simplicity and complexity of abstract art.
Follow us on Instagram @BohriAli to win exciting offers!

Leave a comment
This site is protected by hCaptcha and the hCaptcha Privacy Policy and Terms of Service apply.