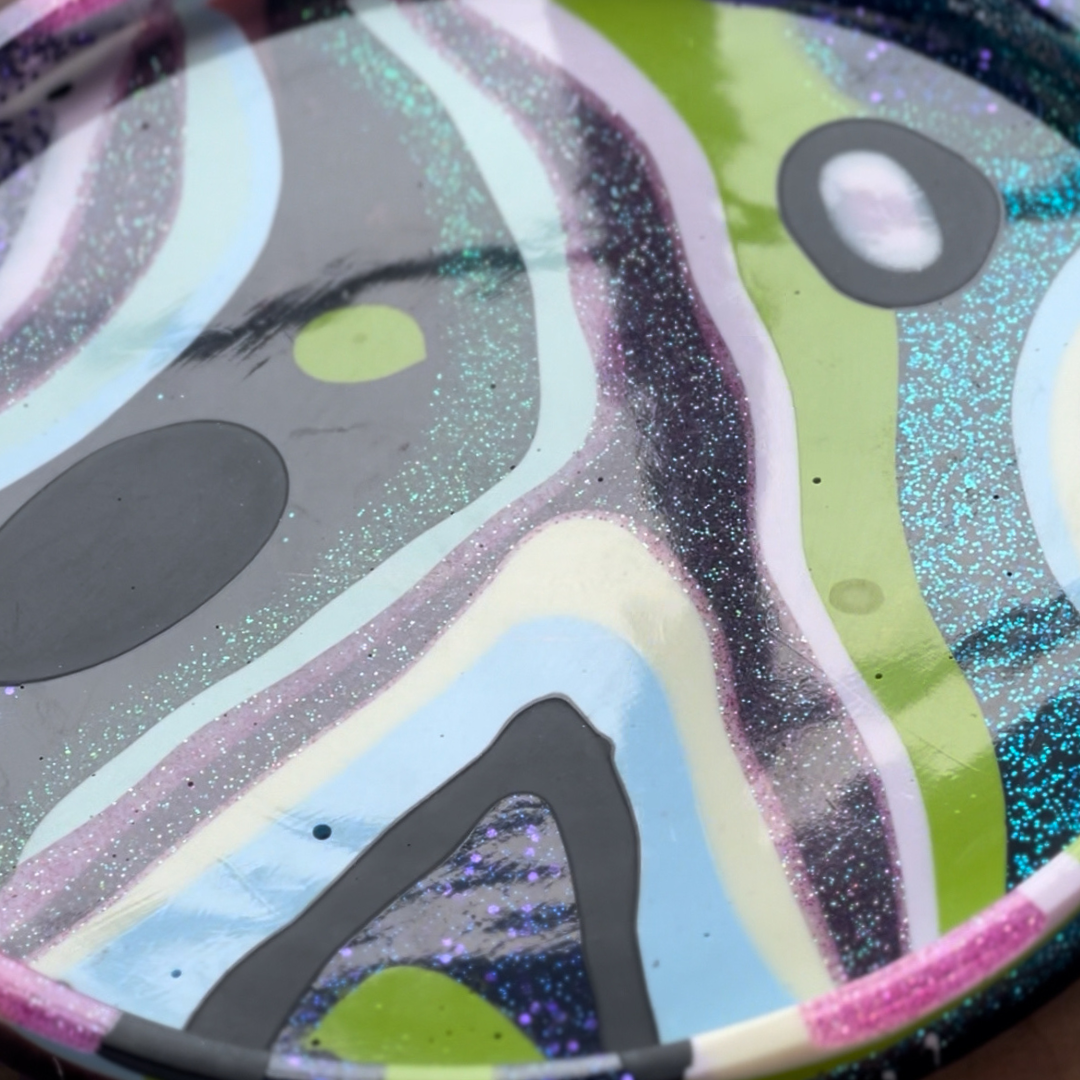
Welcome to Day 9 of our 100 Days 100 Designs challenge! Today, we’re excited to share our latest creation – the “Glitter Burst Tray” combining the beauty of resin and Jesmonite with a shimmering effect.
Materials Used:
1. Petri Dish Mould / Capsule Mould
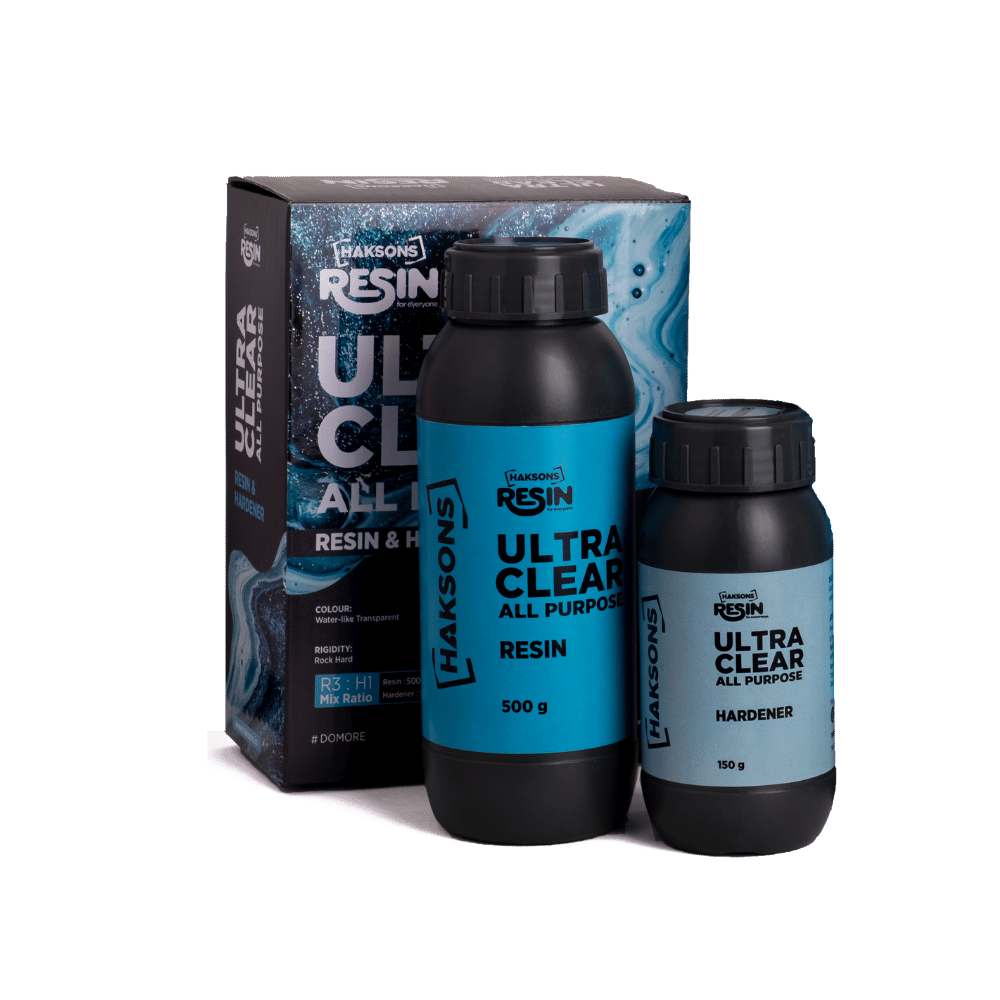
2. Clear Resin (Haksons Prime Art - 2:1)
3. Pink Shimmer / Chamki
4. White Rainbow Effect Shimmer / Chamki
5. Jesmonite AC100
6. Jesmonite Pigments - Black, Red & White
Step-by-Step Process:
1. Preparing the Mould:
We took two Petri dish moulds and prepared clear resin using Haksons Prime Art (2:1) mixed with two different shimmers in separate cups. One shimmer was a pinkish color, and the other had a white rainbow effect.
2. Creating the Shimmer Effect:
We waited for the resin to thicken slightly, then started putting drops of different sizes randomly into each mould. One mould had the pinkish shimmer, and the other had the white rainbow shimmer.

3. Curing the Resin:
We allowed the resin to cure for about 4 to 5 hours.
4. Pouring Jesmonite:
Once the resin cured, we poured Jesmonite over each mould. For the mould with the white rainbow shimmer, we used black Jesmonite. For the mould with the pinkish shimmer, we used a very pastel pink Jesmonite (achieved by adding one drop of red pigment to a large amount of white pigment).
5. De-moulding:
After the Jesmonite cured, we de-moulded the trays to reveal the stunning shimmer effects. Seal with Haksons Beeswax.


Mistakes / Things we can do better:
This creation was flawless. We didn’t feel like we made any mistakes, but we are always open to suggestions on how we could improve.
Creating these Glitter Burst Trays was a delightful and insightful process. By following the steps above, you can create your own unique and beautiful trays. Don’t forget to check the link in our bio for more detailed tips and insights!


Leave a comment
This site is protected by hCaptcha and the hCaptcha Privacy Policy and Terms of Service apply.