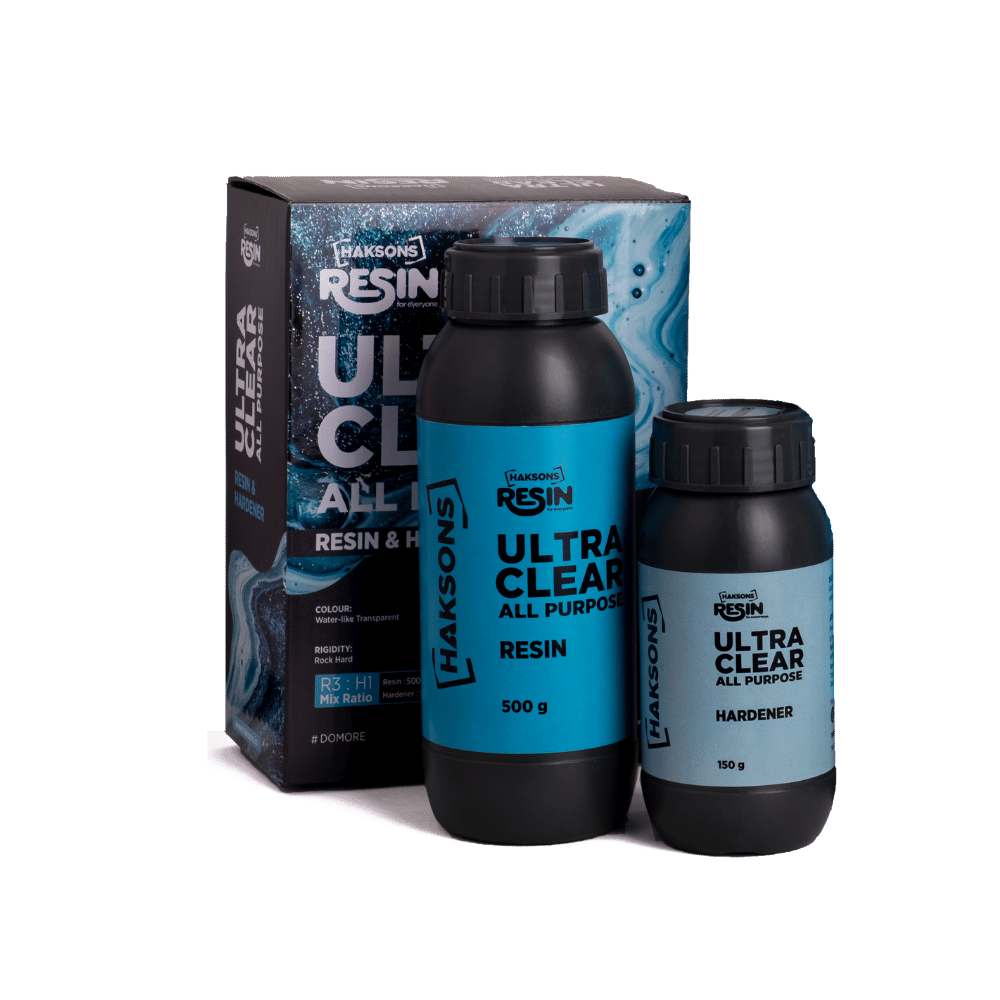
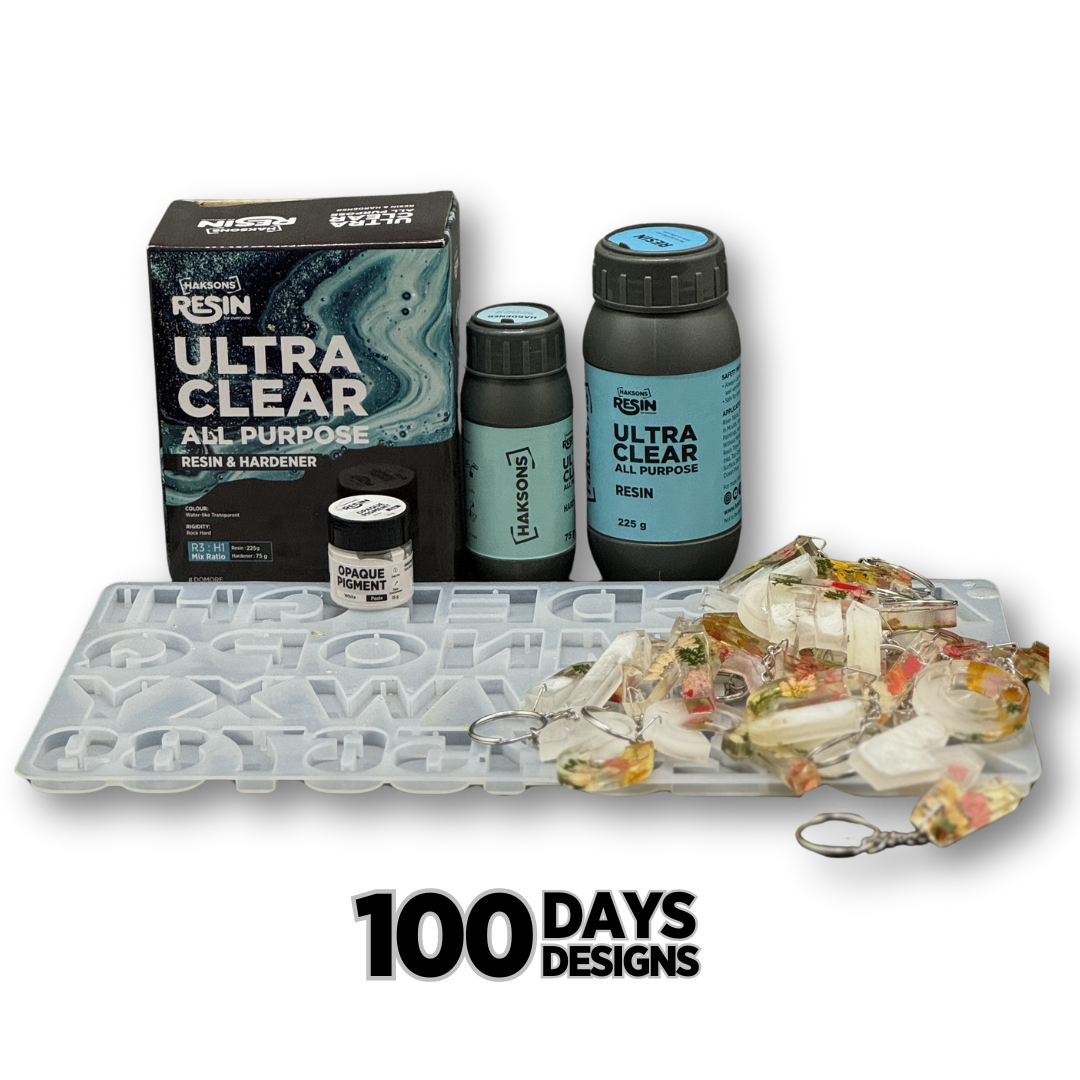
Materials Used:
3. Dried Flowers
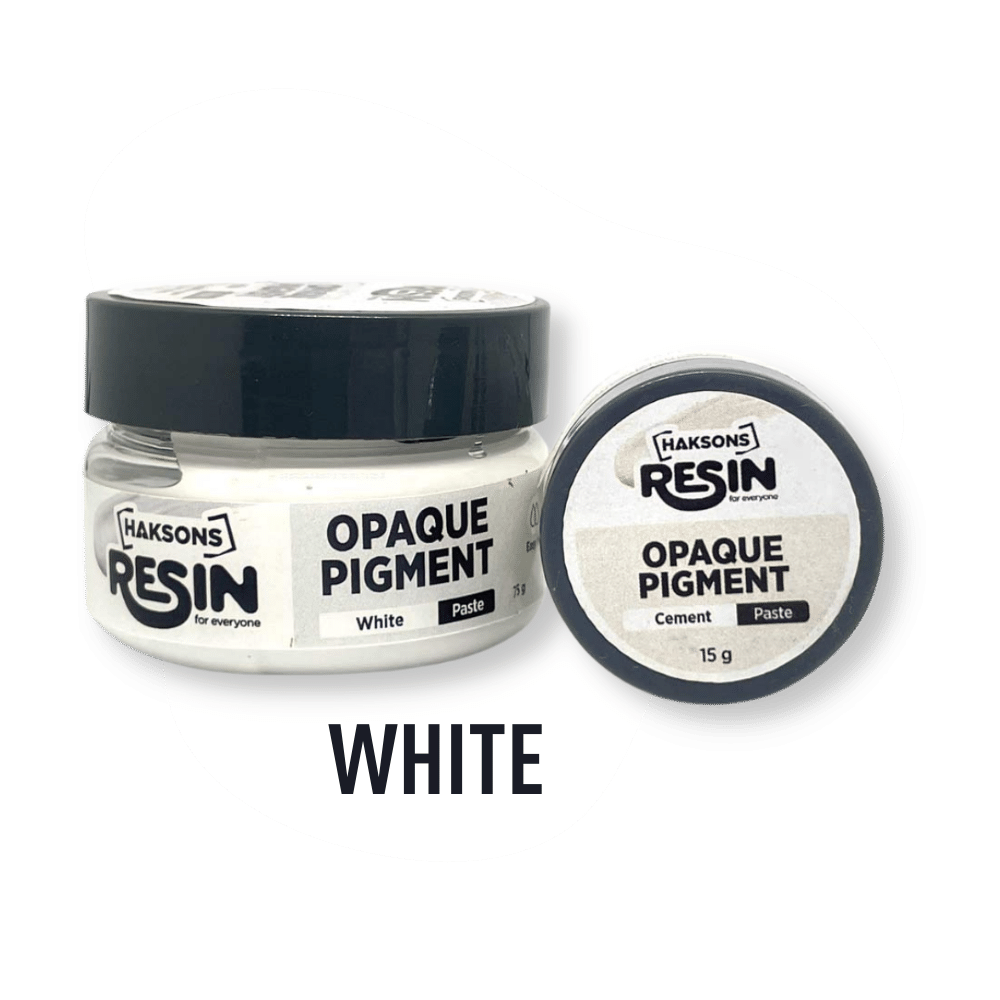
4. Haksons White Opaque Pigment
5. Keychain Rings
Step-by-Step Process:
1. Pouring the Base Layer:
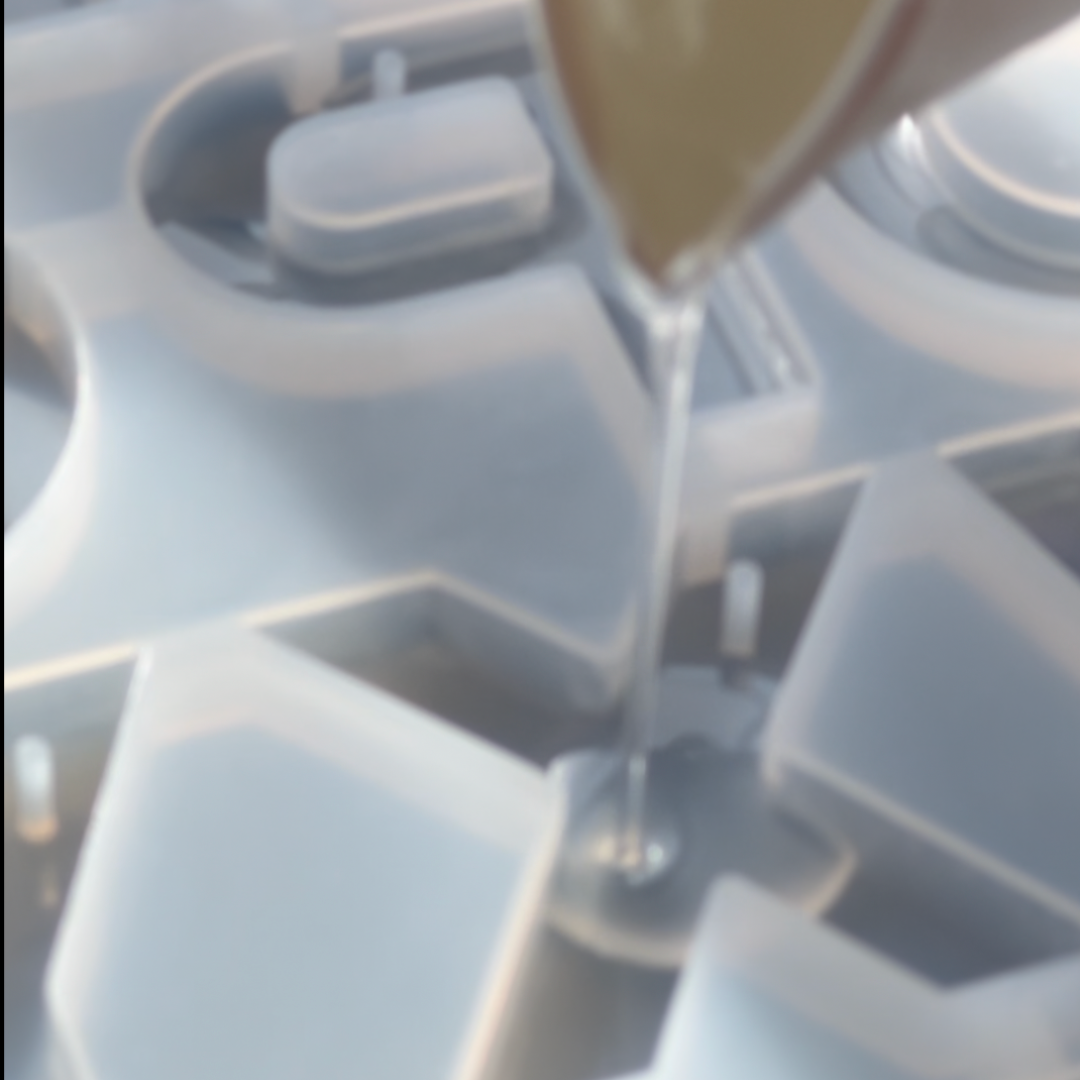
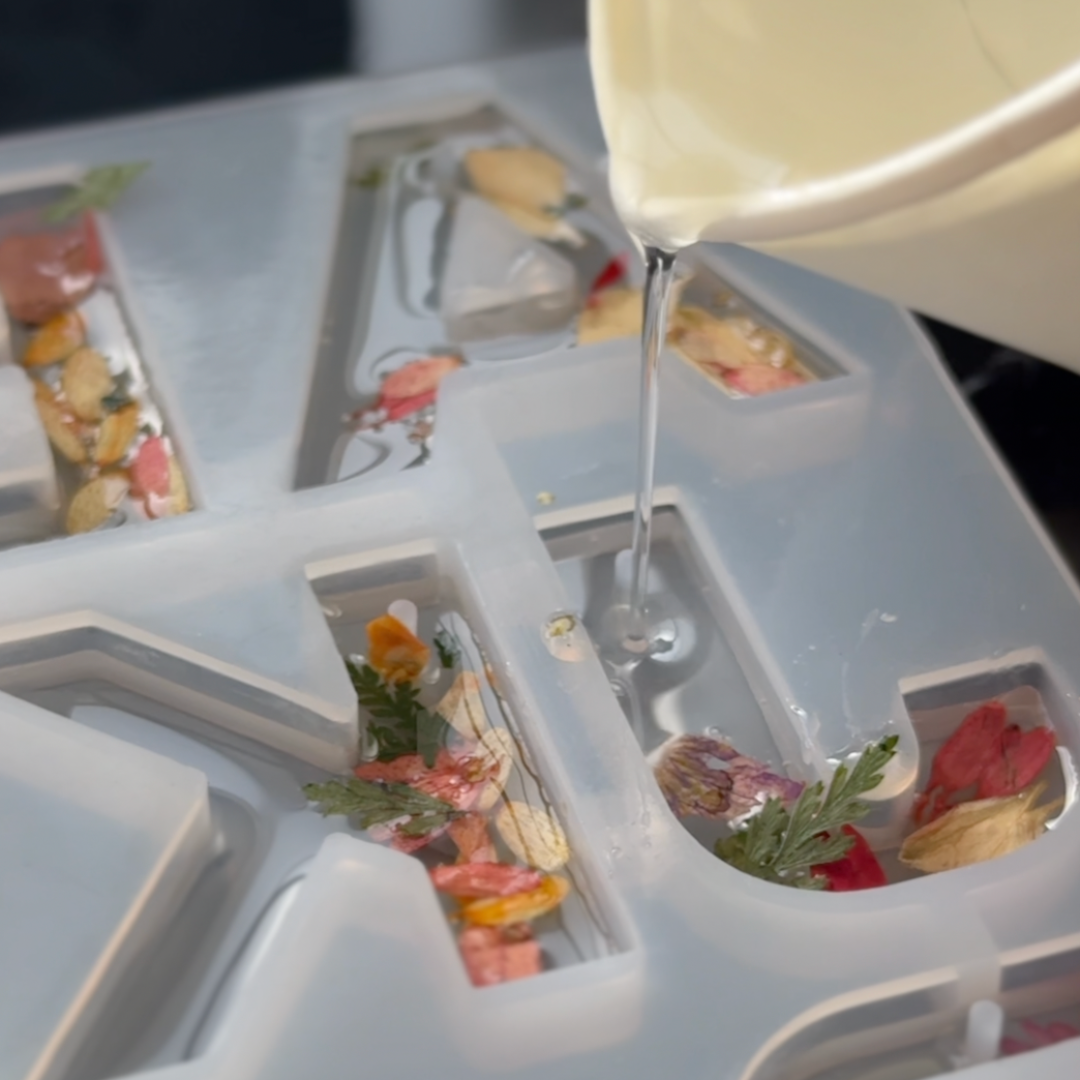
• We began by pouring a thin layer of clear resin into each alphabet mould. This serves as the base layer for our keychains.

2. Adding the Flowers:
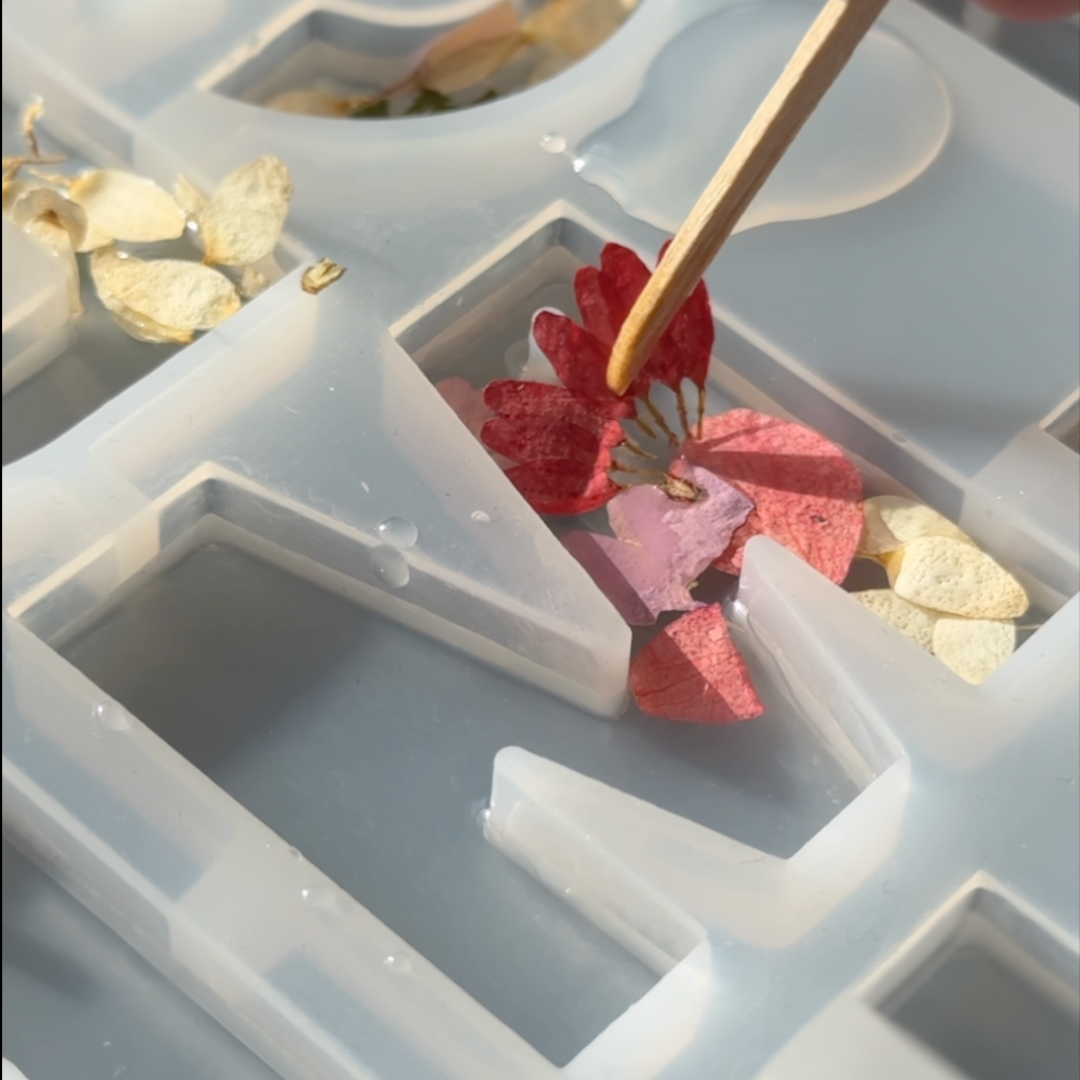
• Carefully, we placed dried flowers into approximately half of each mould. Arranging them delicately ensures a beautiful floral design.

3. Topping with Clear Resin:
• After placing the flowers, we topped each mould with another layer of clear resin, encasing the flowers fully.

4. Thickening the Resin:
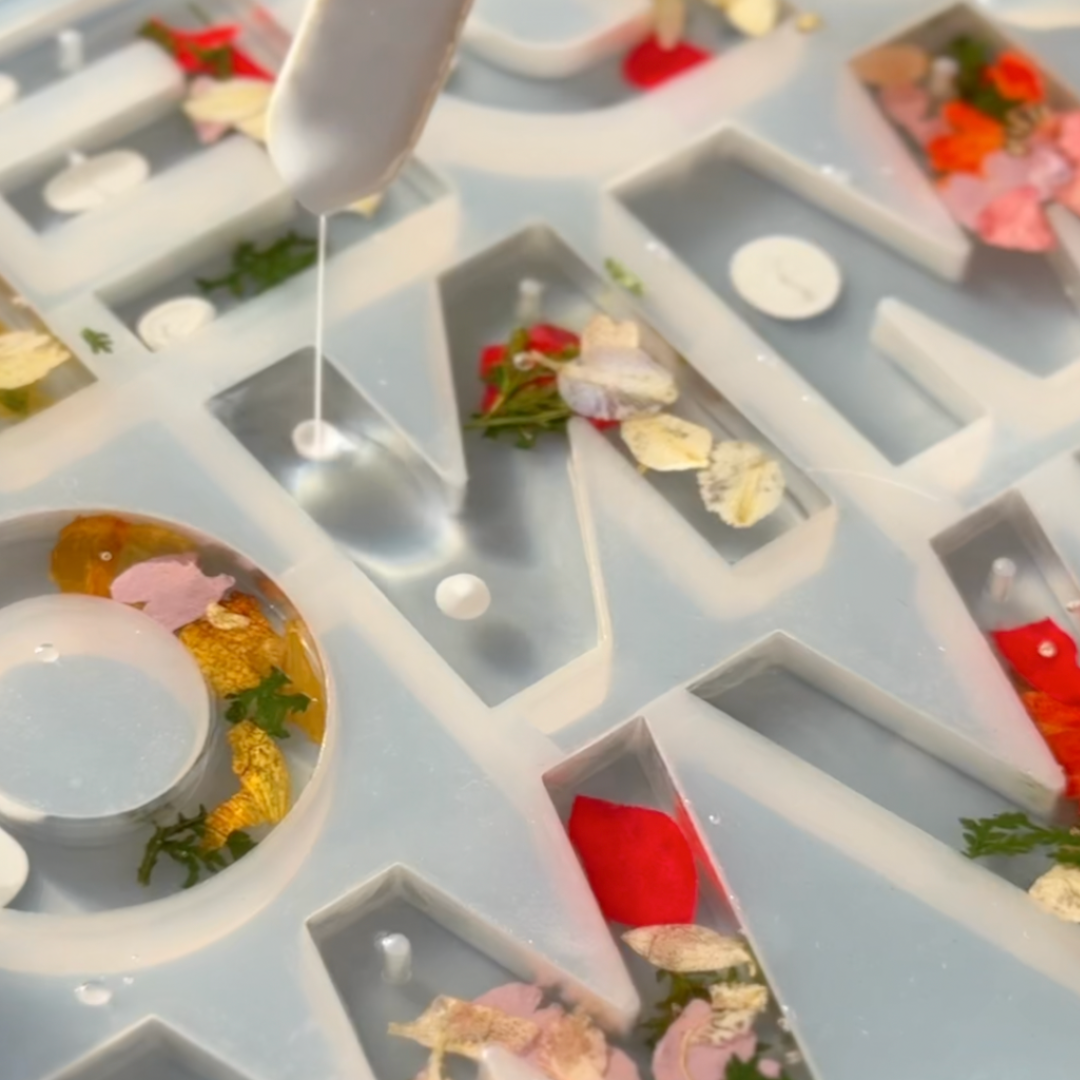
• We waited for the resin to thicken slightly before moving to the next step. This helps in achieving the desired effect with the opaque white resin.
5. Adding Opaque White Pigment:
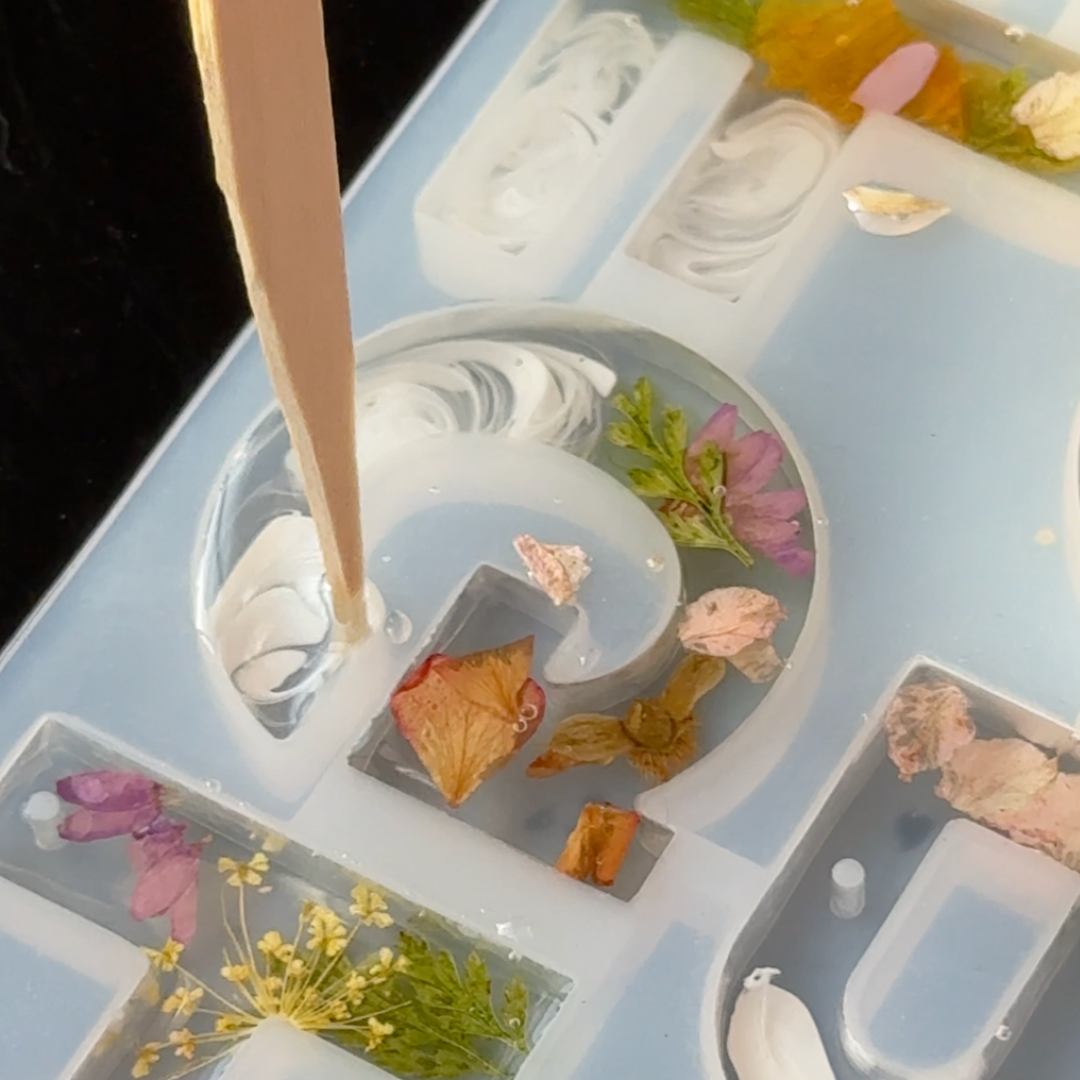
• Once the resin thickened, we took resin mixed with opaque white pigment and added 1 to 3 drops into each alphabet mould, depending on the size of the alphabet.

6. Creating Twirls:
• Using a toothpick or a thin section of a candy stick, we gently made twirls in the resin to create unique, swirling patterns.

7. Curing:
• We allowed the resin to cure for about 18 hours.
8. Finishing Touch:
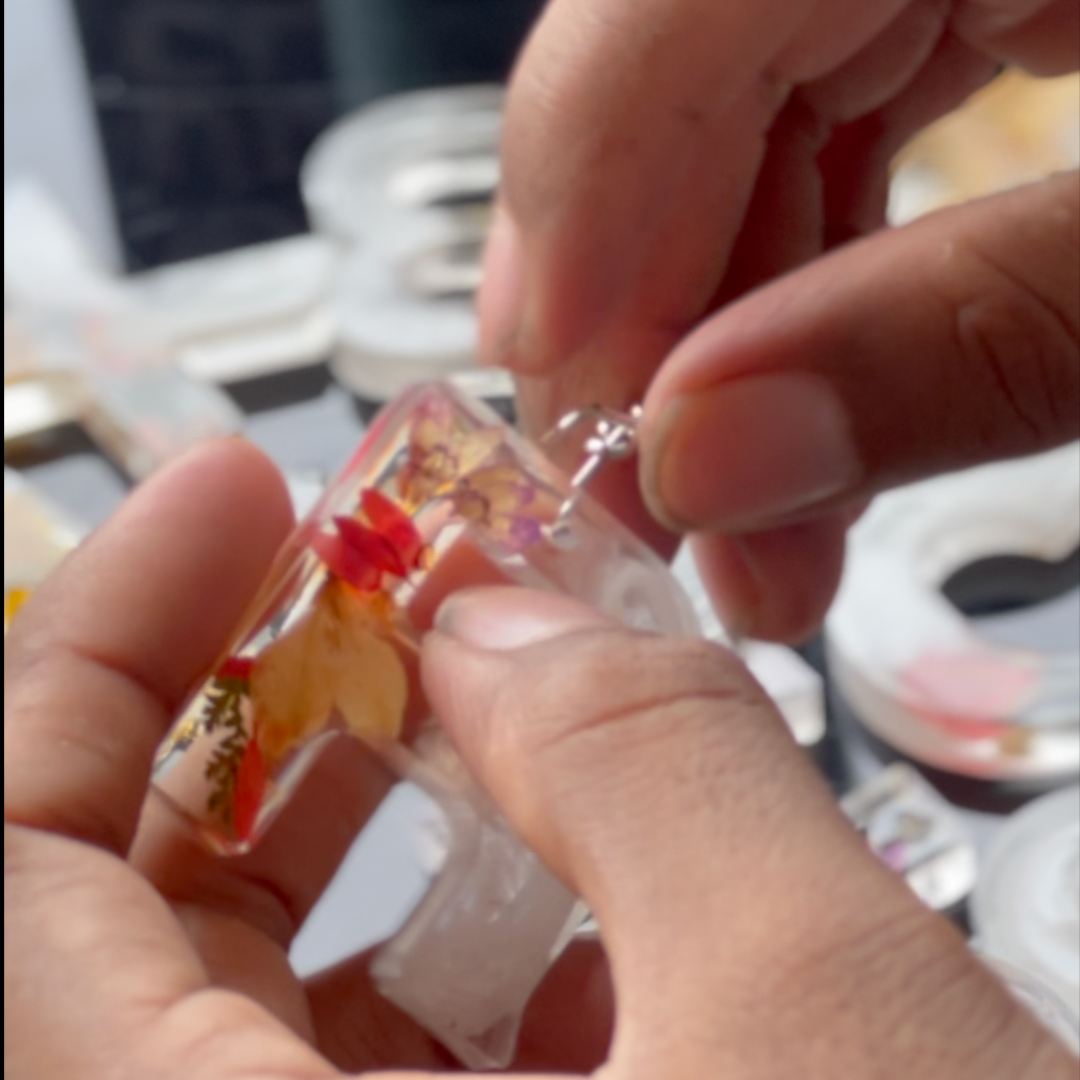
• After curing, we attached keychain rings to each alphabet, completing the keychains.

Mistakes / Things We Could Do Better:
1. Resin Thickness:
• Mistake: We should have waited a bit longer for the resin to thicken before adding the opaque white pigment. This would ensure the twirling effect stays intact.
• Tip: Be patient and allow the resin to thicken adequately before adding pigments for better results.
2. Handling Flowers:
• Mistake: We didn’t use gloves while placing the dried flowers, which can lead to skin irritation because of the uncured epoxy resin.
• Tip: Always use gloves when handling materials like epoxy resin to be safe from any allergies, or reactions


