Materials Used:
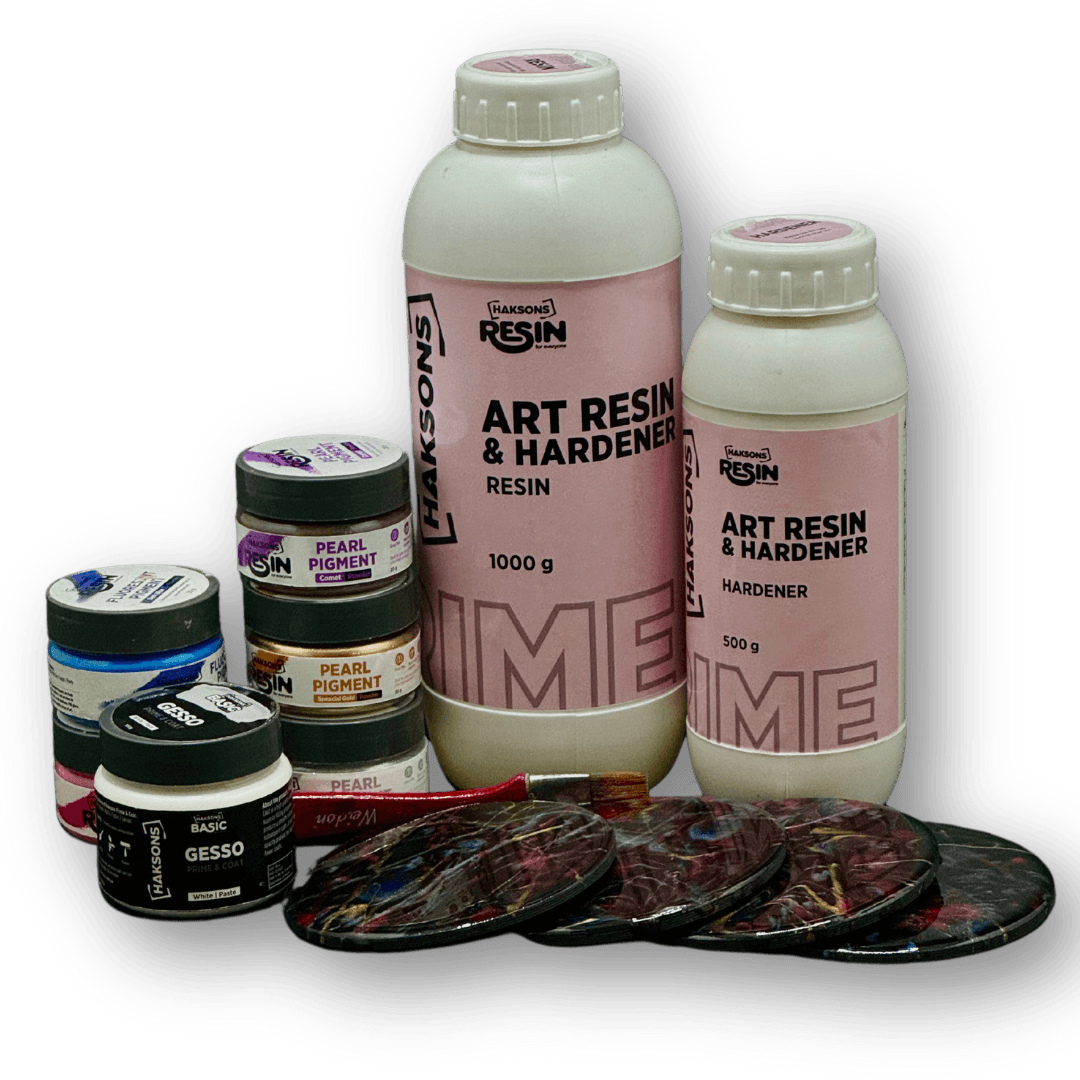
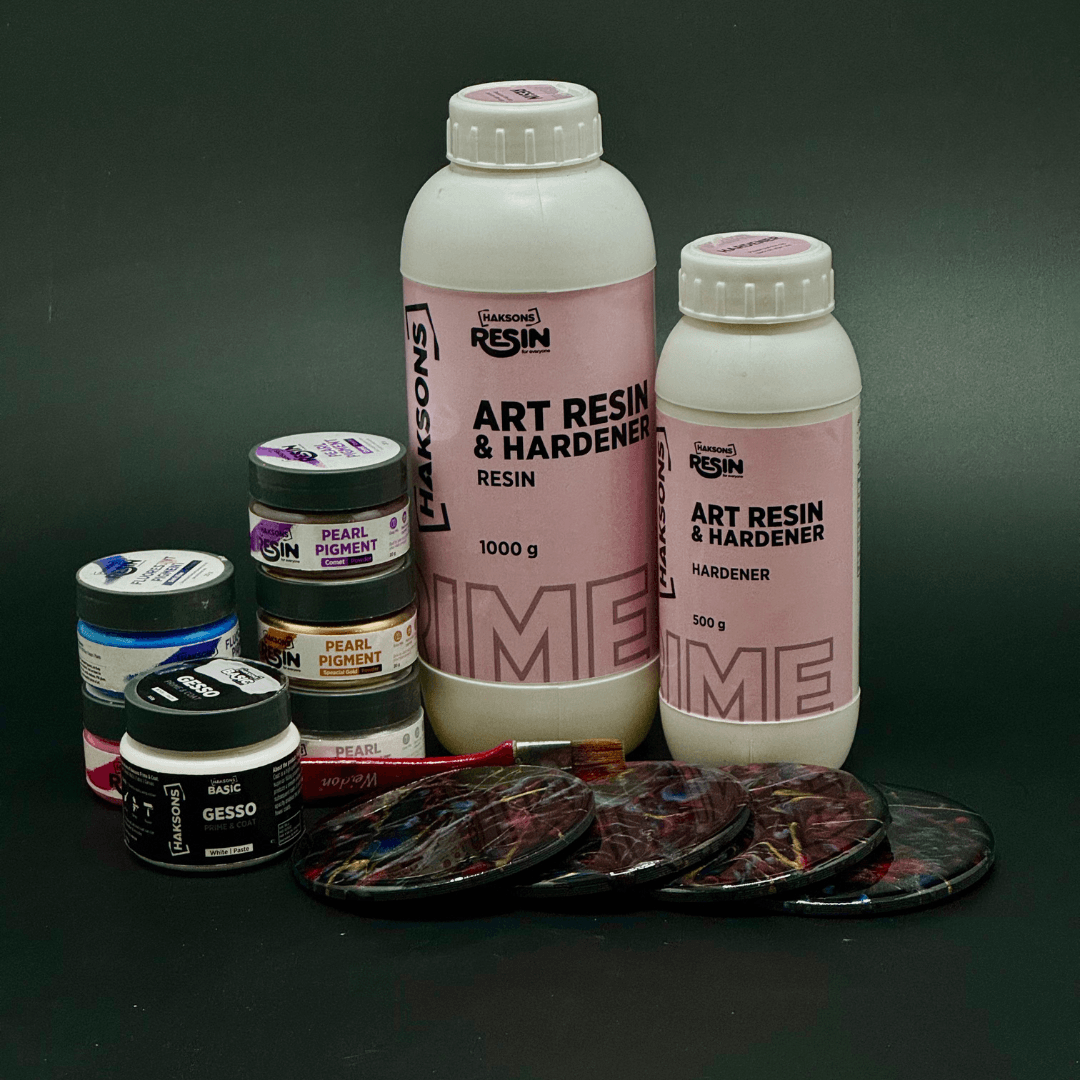
2. Haksons Gesso / Universal Primer
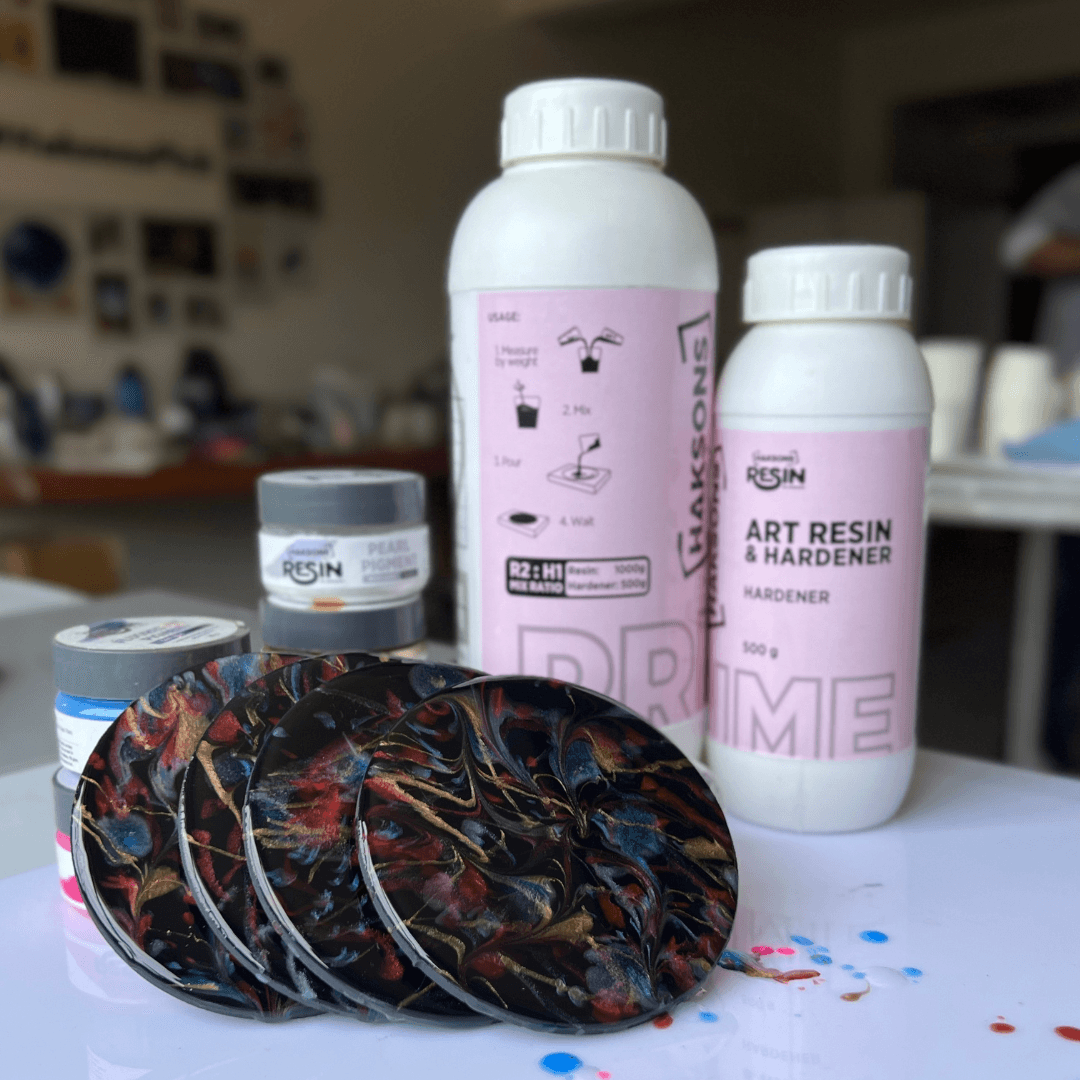
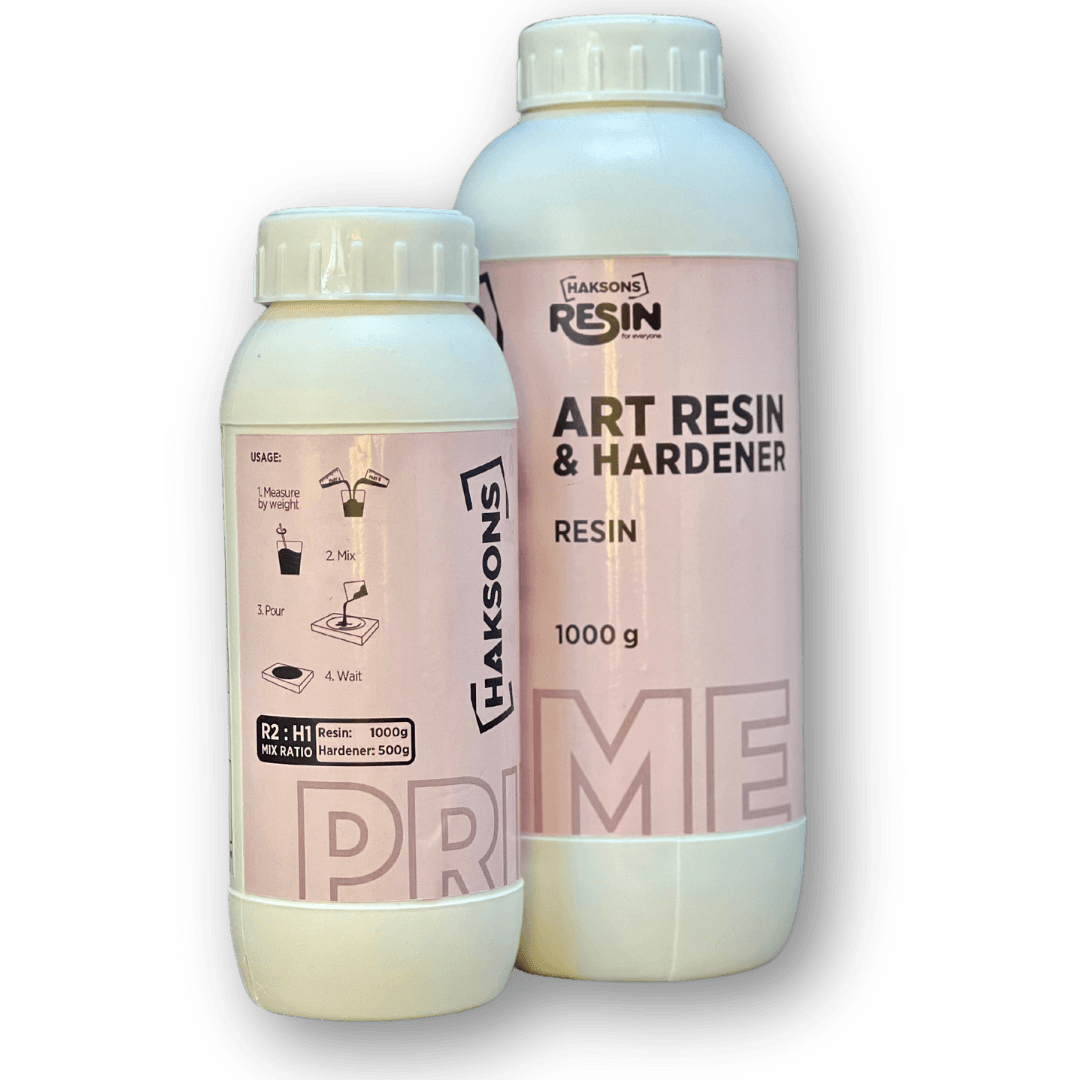
4. Haksons Prime Art Resin (2:1)
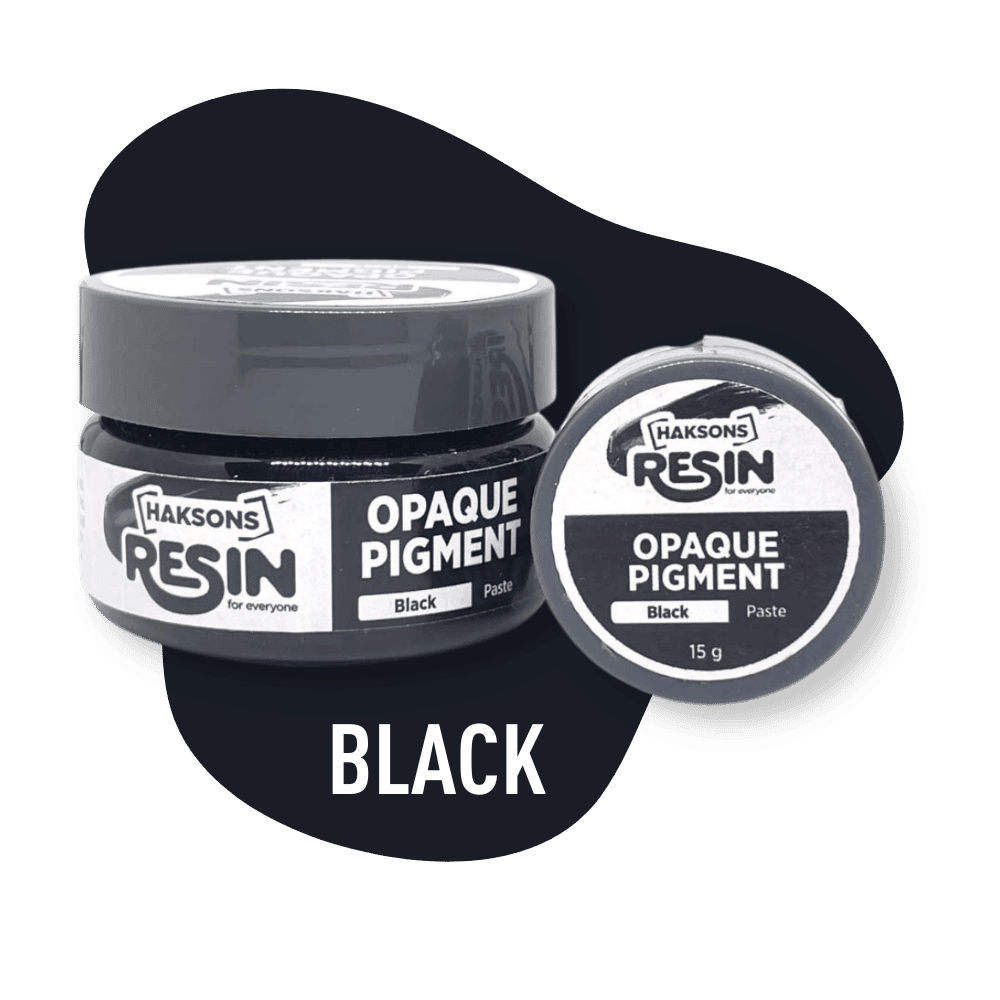
5. Haksons Opaque Pigment - Black
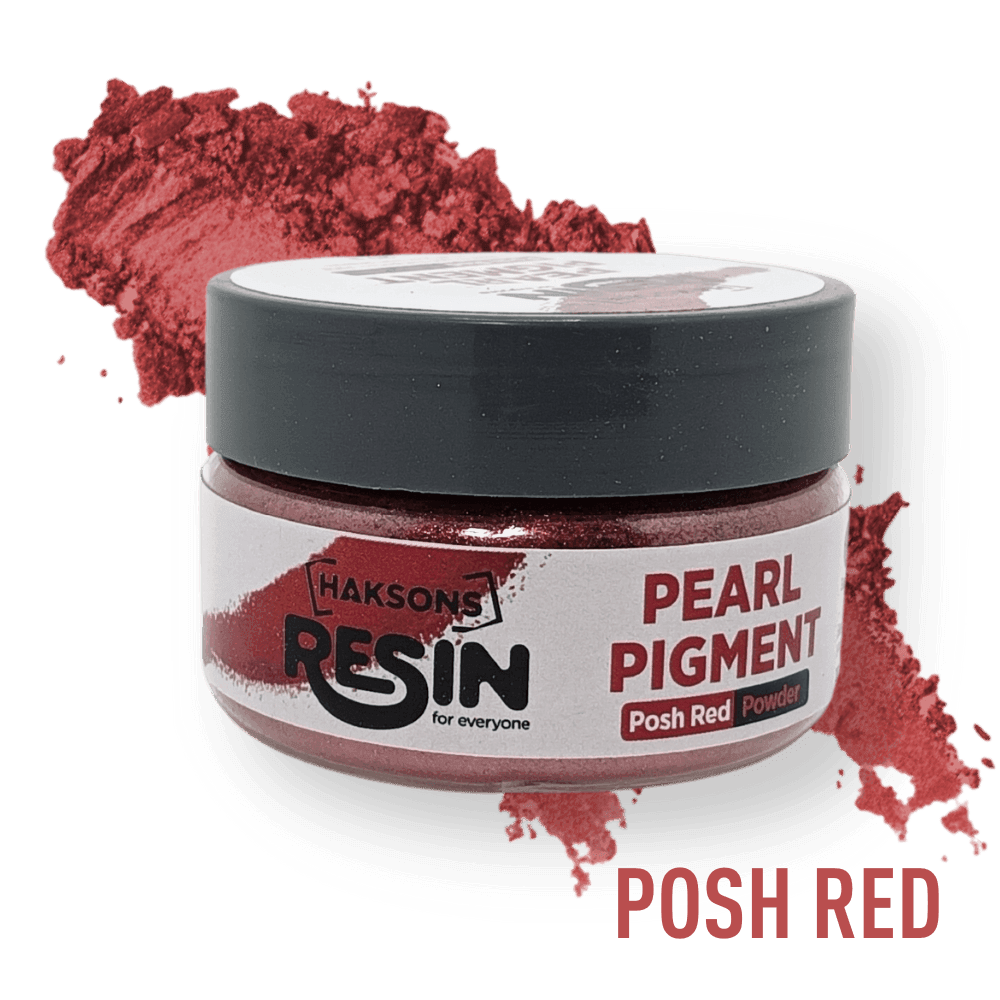
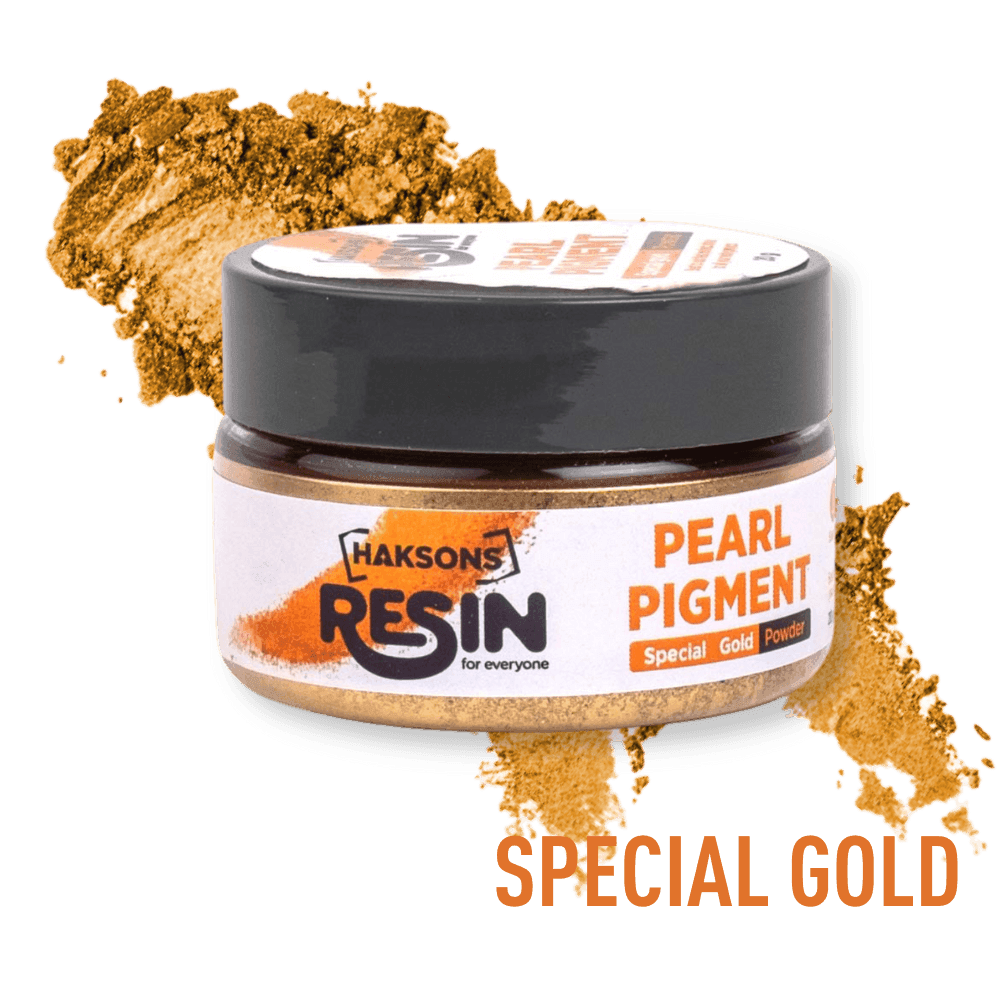
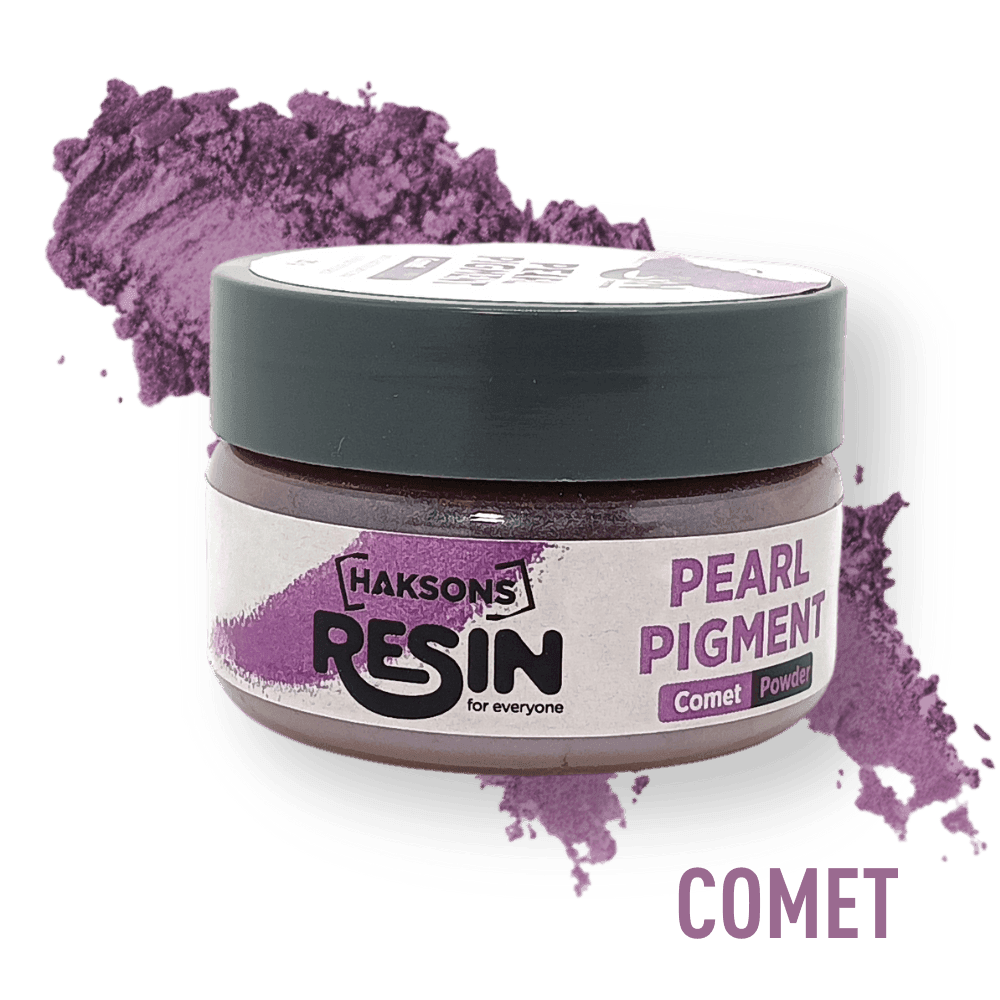
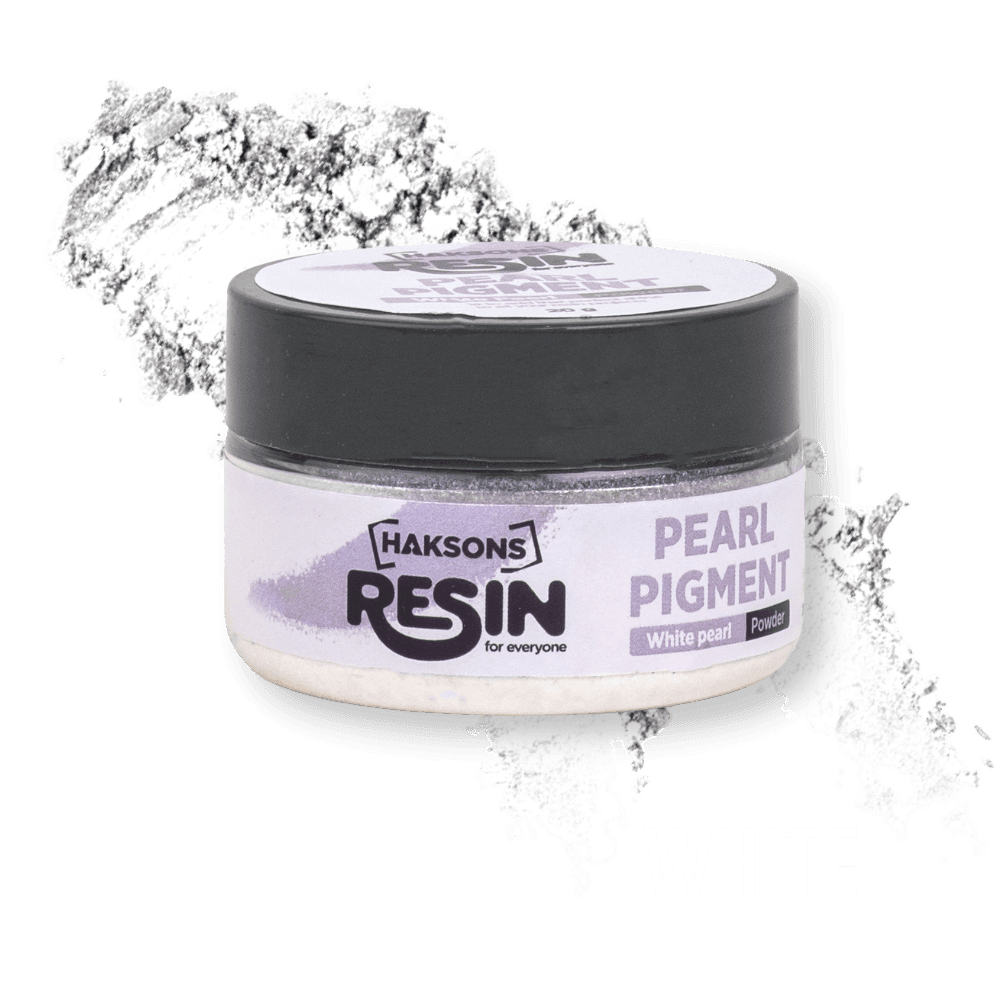
6. Haksons Pearl Pigments (Mica) - White, Comet, Posh Red, Special Gold
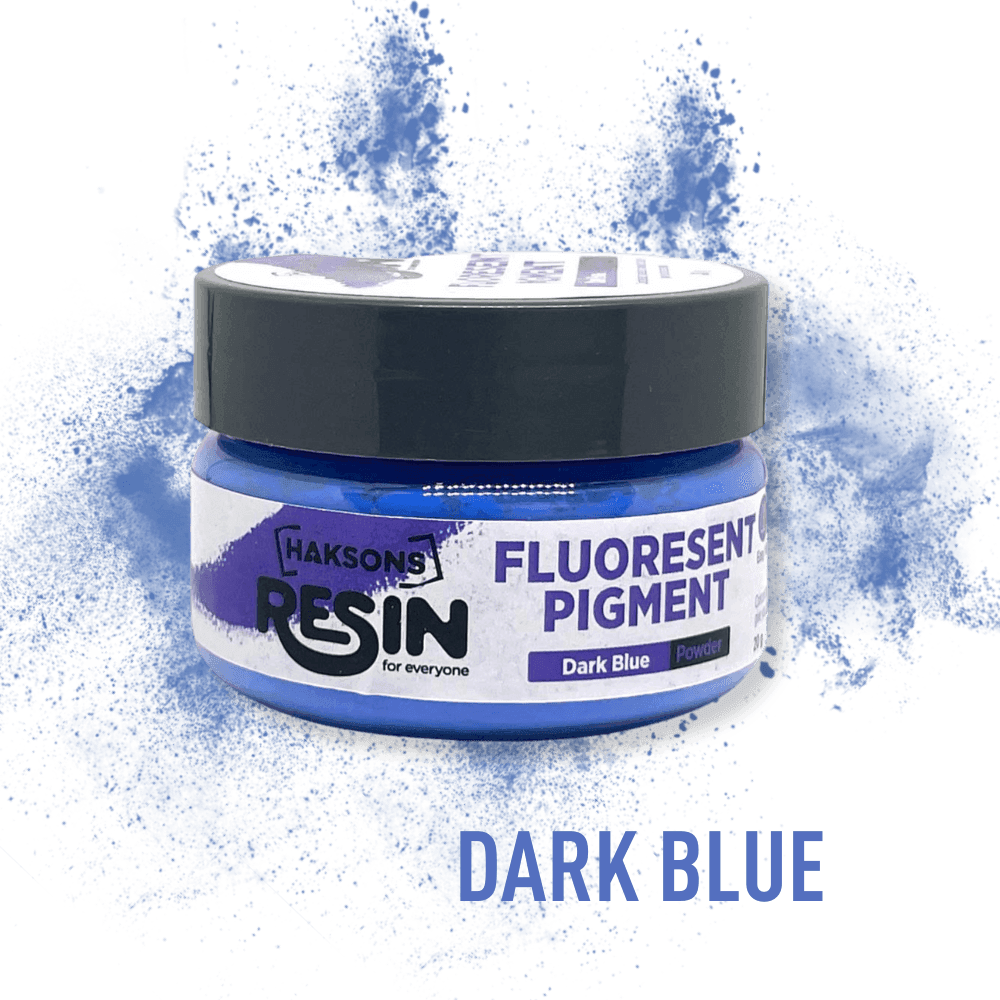
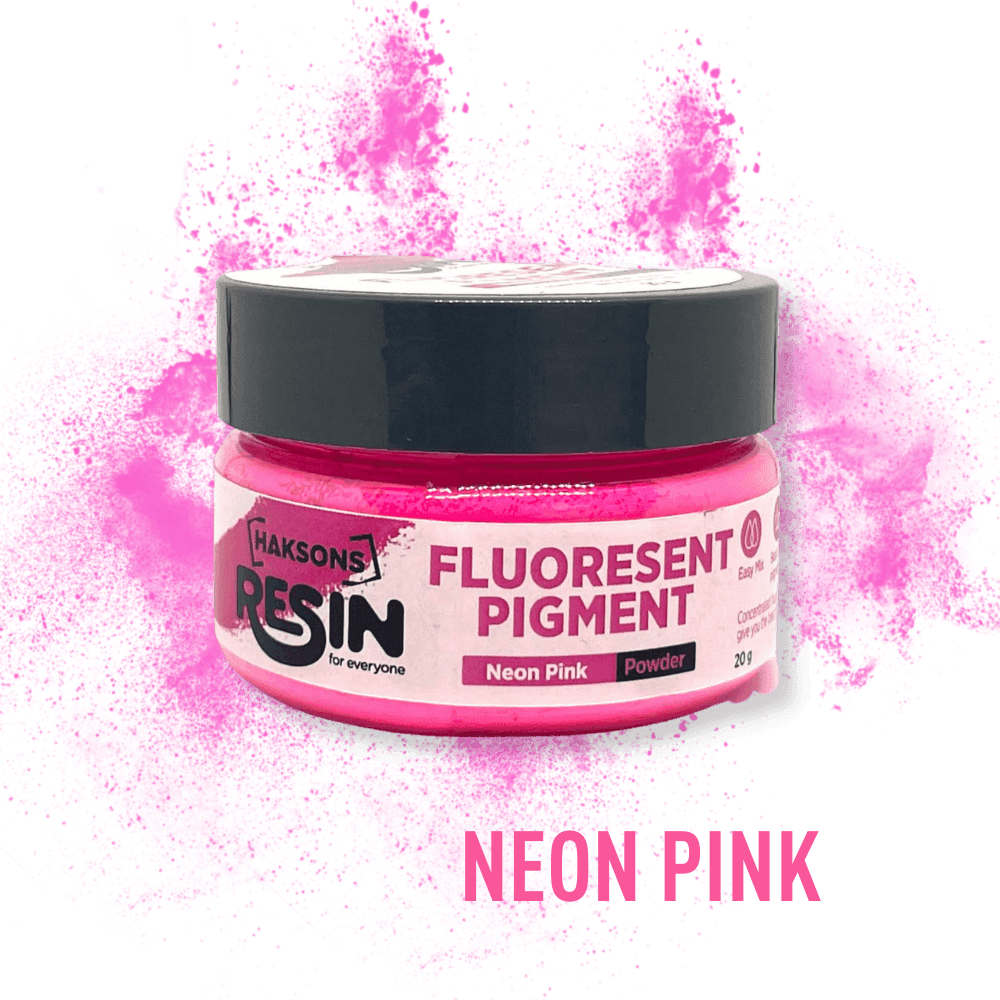
7. Haksons Fluorescent Pigments - Dark Blue and Pink
Step-by-Step Process:
1. Preparation:
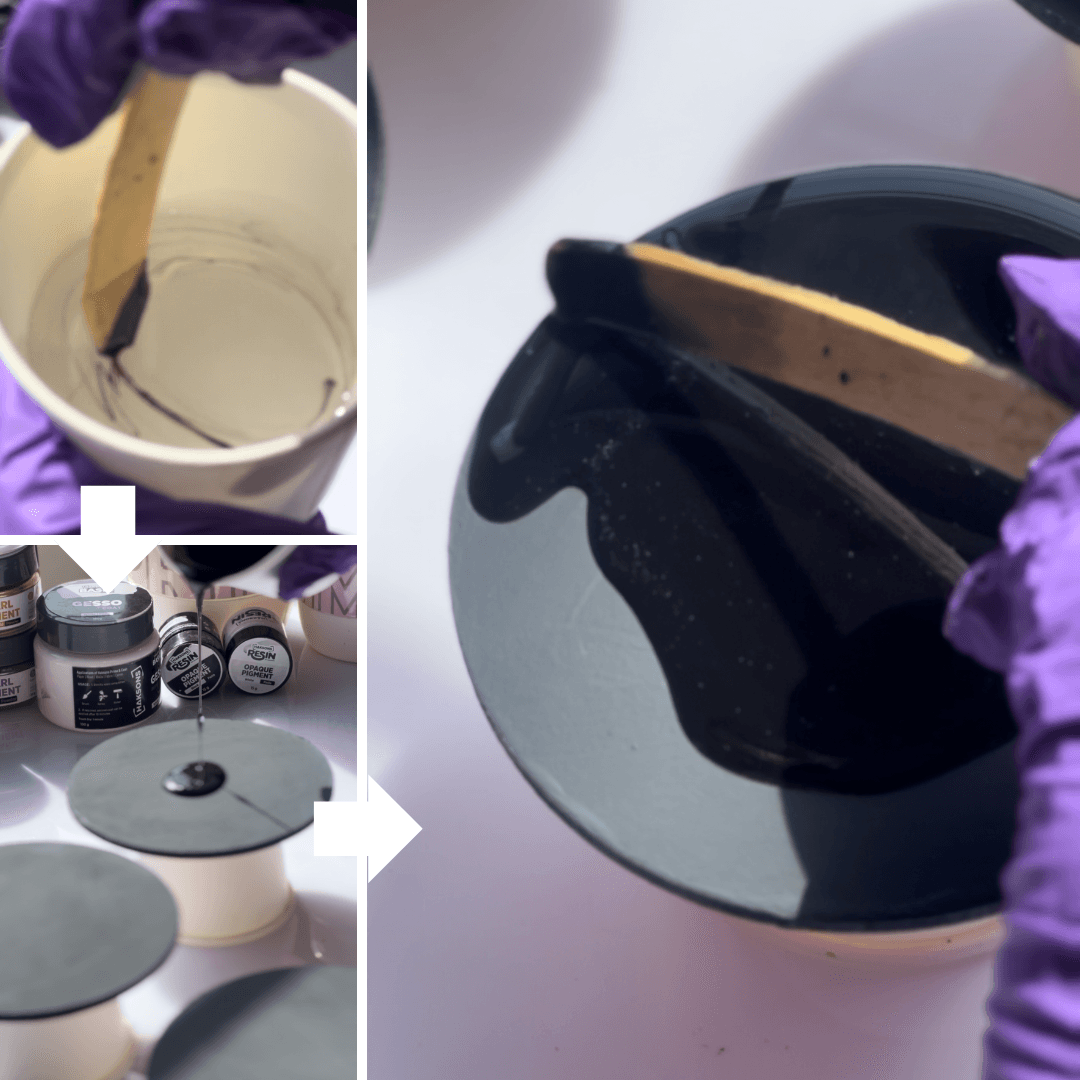
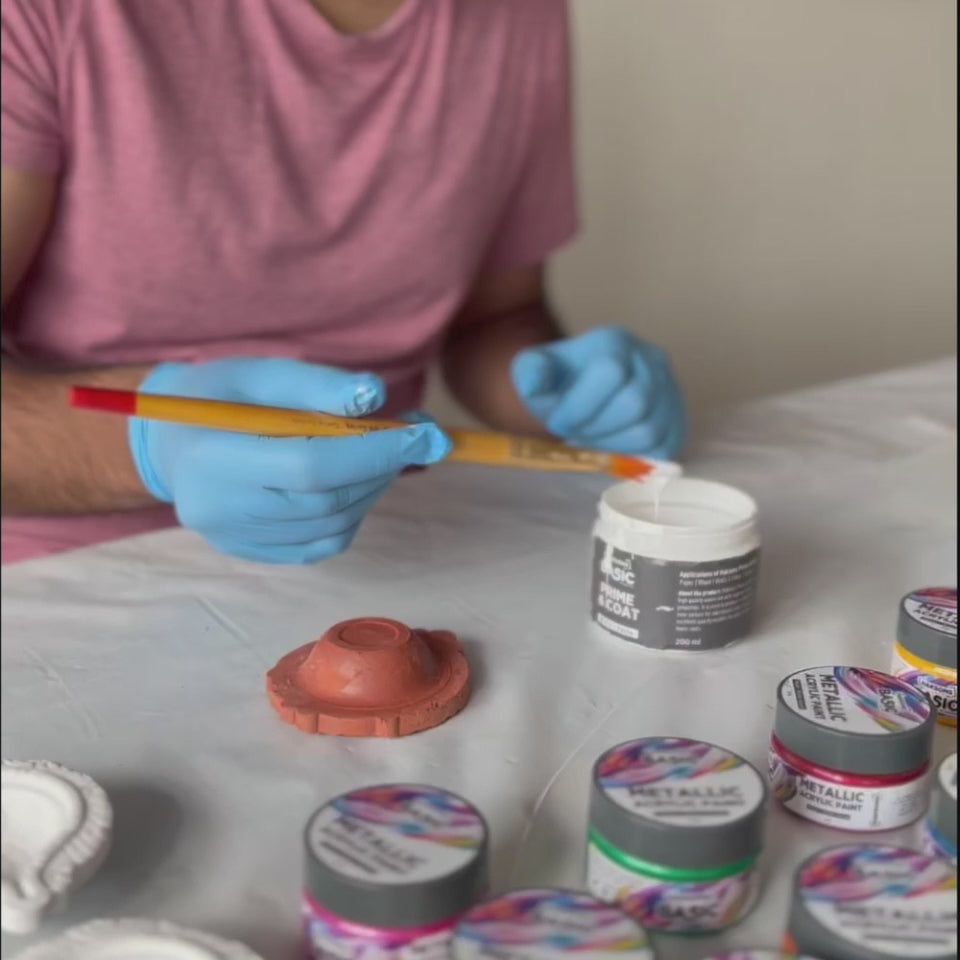
• Start by priming the MDF coasters with a mix of Haksons Gesso / Universal Primer and black acrylic paint. This helps create a smooth, dark surface for the resin to adhere to.

2. Mixing the Resin:
• Mix Haksons Prime Art Resin according to the 2:1 ratio specified. Ensure it’s thoroughly mixed to avoid any sticky spots.
• Divide the mixed resin into separate cups for different colors.
3. Adding Pigments:
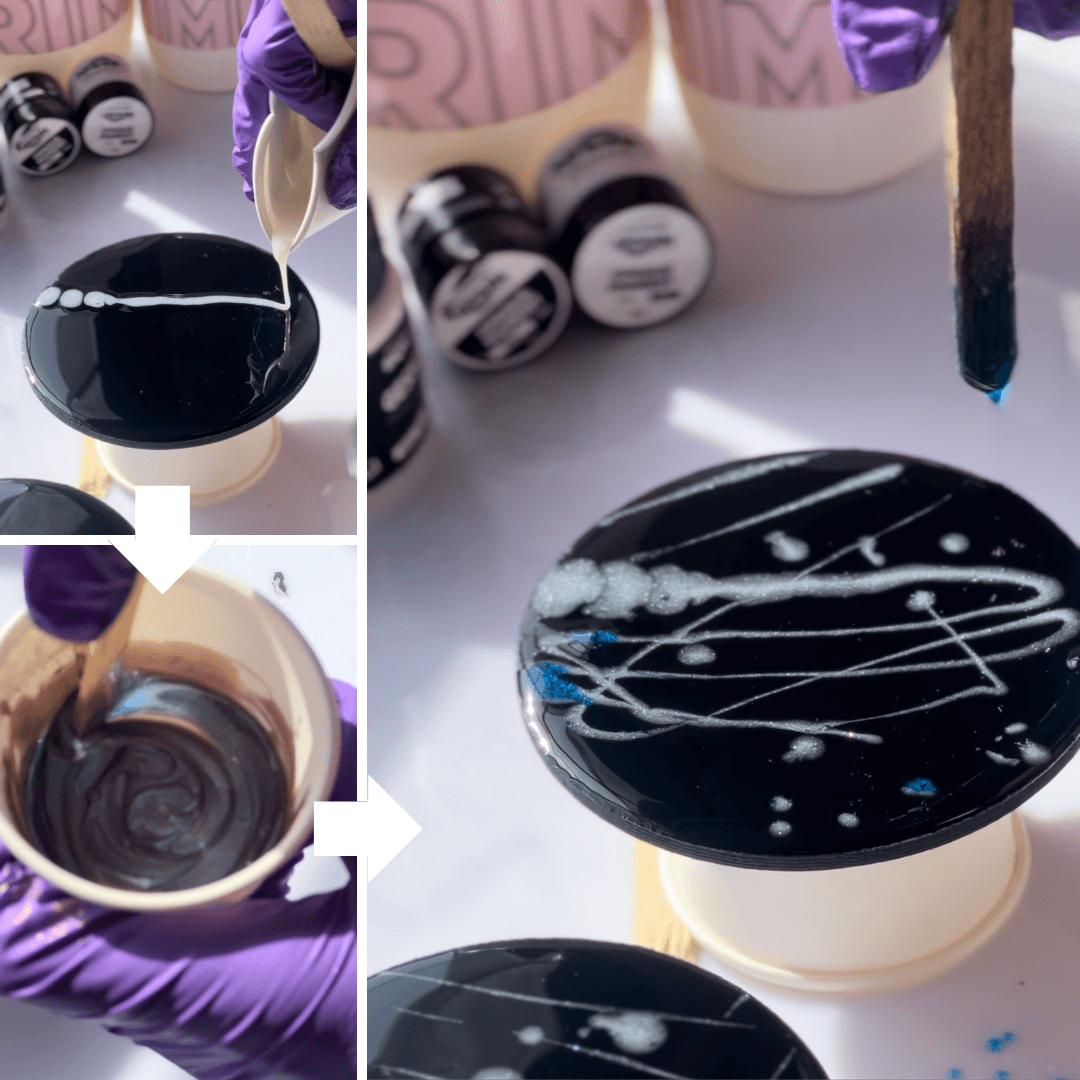
• Add Haksons Opaque Pigment (Black) to one cup of resin to create a deep, solid base.
• In other cups, add Haksons Pearl Pigments (White, Comet, Posh Red, Special Gold) and Haksons Fluorescent Pigments (Blue & Pink) to create vibrant, cosmic colors.
4. Pouring the Resin:
• Start by pouring the black resin onto the coasters as a base layer.

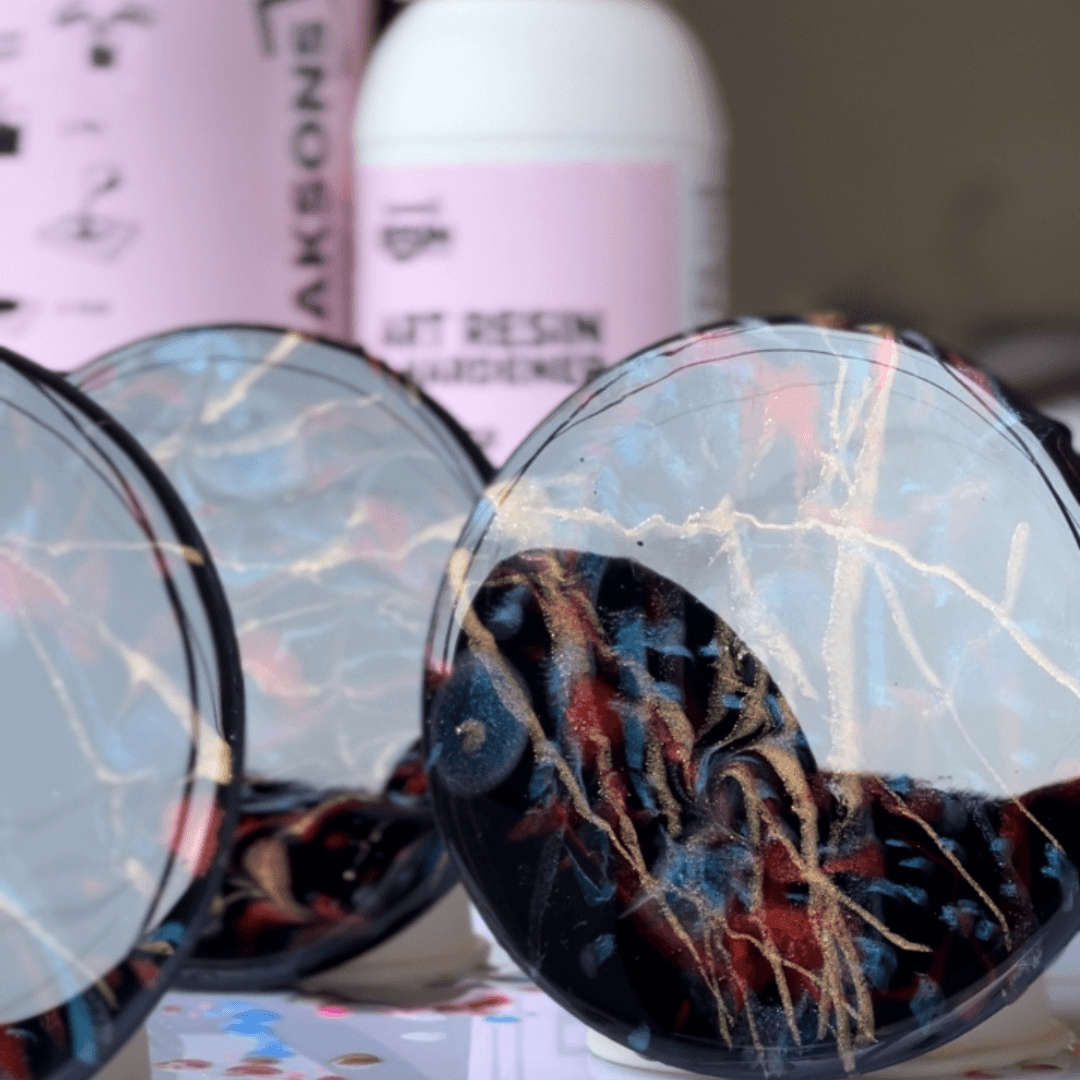
• Add the colored resins in small amounts, swirling them together to create an abstract, galaxy-like effect.

• Use a toothpick or a heat gun to gently move the resin and blend the colors further, enhancing the cosmic look.

5. Clear Coat (Optional):
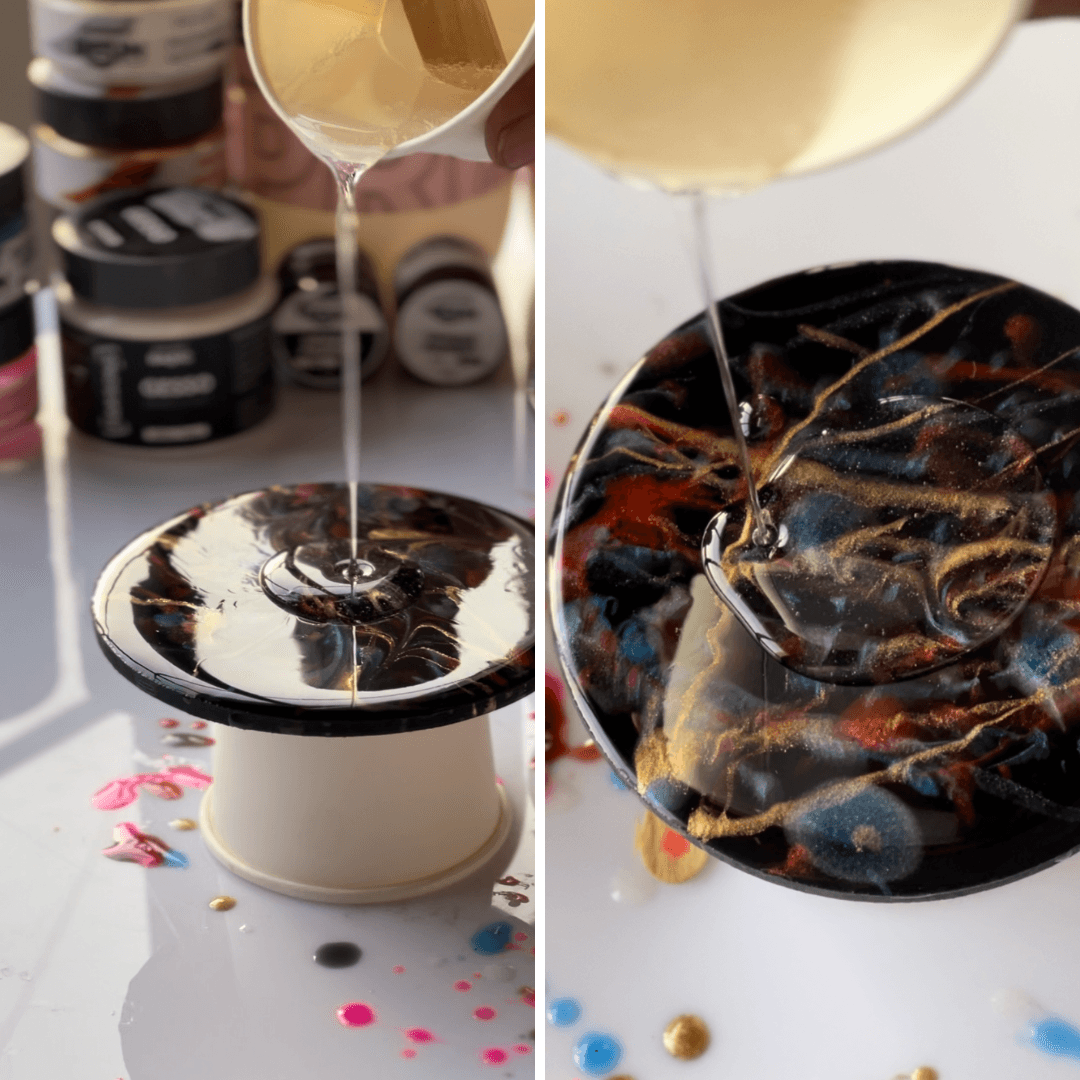
• Once the resin has cured, you can pour a clear coat of resin over the final outcome for a glossy, protective finish.

6. Curing:
• Let the coasters cure for at least 12 hours in a dust-free environment.

Mistakes We Made & Tips to Avoid Them:
1. Color Balance:
• Mistake: We felt like we added too much of each color. In a galaxy-themed piece, more black should have shown through.
• Tip: Use black as the dominant color and add other colors sparingly to achieve a true galaxy look.
2. Working too slowly:
• Mistake: This was poured in the summer, so the resin was setting faster than expected. The final twirls left marks, which we had to cover with another layer of clear resin.
• Tip: Work quickly in warmer temperatures and consider adding a clear coat to smooth out any imperfections.
3. Uneven Surface:
• Mistake: After pouring the first black layer, we realized the table wasn’t level, even though we had checked it before pouring. The resin was sliding towards one side.
• Tip: We used candy sticks under two of the four corners to level it out. Double-check the level of your surface before and during the pouring process.
Ready to create your own vibrant resin artwork?
Shop our full range of Epoxy Resins now →