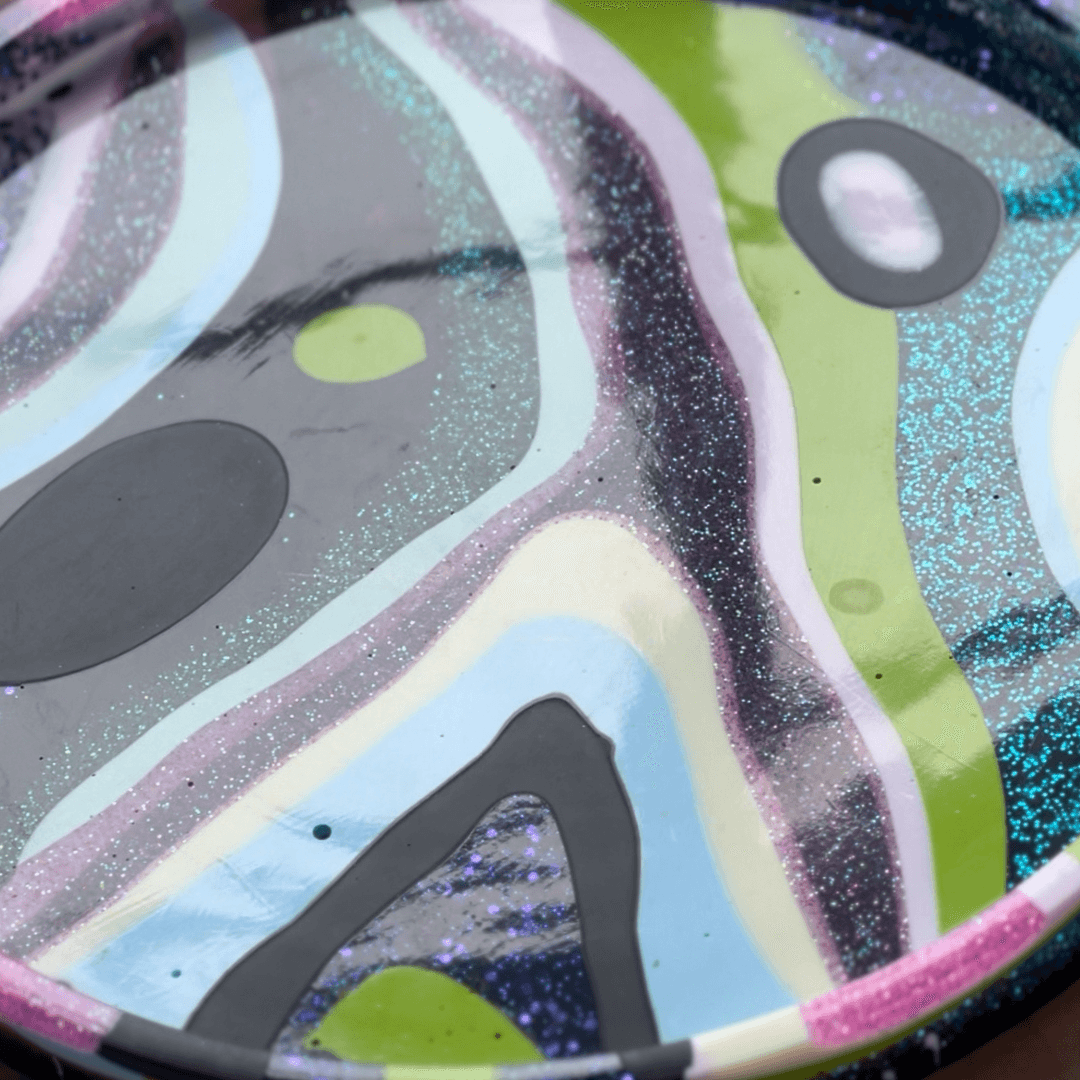
Welcome to Day 11 of our 100 Days 100 Designs challenge! Today, we’re excited to share our latest creation – the “Evil SpongeBob Planter,” a fun and vibrant piece crafted by @ministryofmagic.
Materials Used:
1. Planter Mould
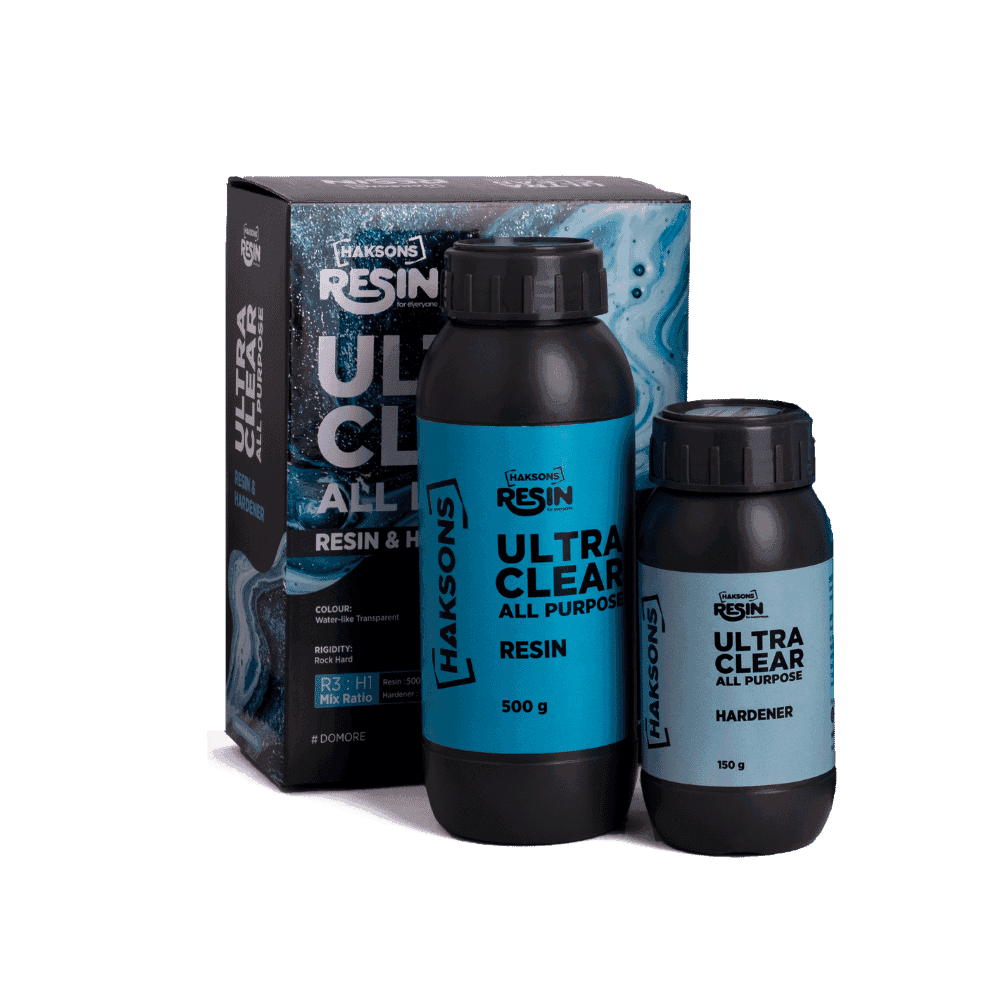
2. Jesmonite AC100
3. Haksons White Primer / Gesso
4. Yellow Artist’s Acrylic Paint
5. Haksons Chalk Paints
6. Haksons Black Chalk Paint
Step-by-Step Process:
1. Casting the Planter:
We started by casting plain Jesmonite AC100 in a planter mould. Once set, we demoulded the planter.
2. Applying Primer:
After demoulding, we applied Haksons white primer/gesso to the planter’s surface to create a smooth base for painting.
3. Base Painting:
We painted the entire planter with yellow artist’s acrylic paint, ensuring even coverage.

4. Drawing the Outline:
Using a pencil, we carefully drew the outline of the Evil SpongeBob character on the planter.

5. Painting the Details:
We used various Haksons chalk paints to fill in different parts of the character, bringing it to life with vibrant colors.

6. Outlining:
Finally, we outlined the character with Haksons black chalk paint to define the details and complete the look.

7. Seal with Haksons Beeswax
Things We Could Do Better:
We opted not to lightly sand the planter after applying the primer, which resulted in visible brush marks. Light sanding would help achieve a smoother finish.
Creating this Evil SpongeBob Planter was a delightful and insightful process. By following the steps above and learning from our mistakes, you can create your own unique and vibrant planters.


Leave a comment
This site is protected by hCaptcha and the hCaptcha Privacy Policy and Terms of Service apply.