

Hakson’s mould-making silicone is very easy to use, beginner-friendly and is to be mixed in a simple 1:1 ratio. You can use this product from your home, it’s safe to use and no external fancy equipment is required. For ease of use, the two bottles are labelled Part A and Part B, and each bottle has 100 gms of product.
Mix in a 1:1 ratio:
In paper cup mix both the parts in an equal ratio. Make sure to use a weighing scale, do not wing this process.
Once combined, just like resin moulds, mix the two to create a homogenous mixture. Mix thoroughly for around 2-3 minutes, and make sure to scrape the sides and the bottom.

Once mixed you have a working time of about 20-25 minutes. After which, it will begin to gel!
Prep the Silicone:
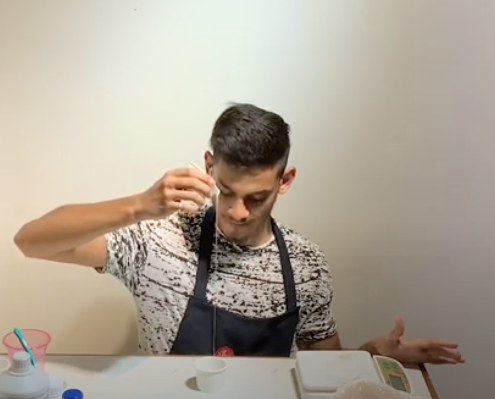
Set the silicone mould mixture down to mature a for a few seconds, and you can tap the cup to release bubbles. However, Haksons Silicone will naturally ensure bubbles on the surface are at a minimum. You can also rotate the paper cup in a circular motion, which also helps bubbles to come up and pop!
Prep your crystal:

Use a dry, soft-bristled toothbrush to dust off any dirt that might be on the crystal. Then, take some of your prepped silicone mould for resin and mix on the toothbrush and apply a thin coat the prettier and more textured side of the crystal. Place the gemstone at the centre of a paper cup.
The gemstone we provide in the kit, is obviously a lot heavier than the silicone we intend to pour on top it, which is why we don’t stick the bottom half on the base of the paper cup. If you are using a lighter material, it is a good idea to glue it to the bottom of the paper cup.
Silicone Pour:

Try pouring from a height, this works to remove air bubbles better. Make sure you do not pour directly over the gemstone, and in the sides. Let it gently fall over the stone. You can give it a few taps, so
It can be stressful and scary because the bubbles are very prominent in this translucent stage. Don’t worry, the surface of the mould will have very few bubbles.
Let it Cure:
The curing process for this silicone moulds takes about two, two and a half hours. Be patient, the best is yet to come!
Demoulding the Silicone:

Tear out the paper cup, slowly and gently to uncover your silicone mould. Take off the sides first, and then gently pull off the base.
Feel free to tidy it up by cutting off the excess silicon around. Just wiggle out the piece, and your mould is ready!

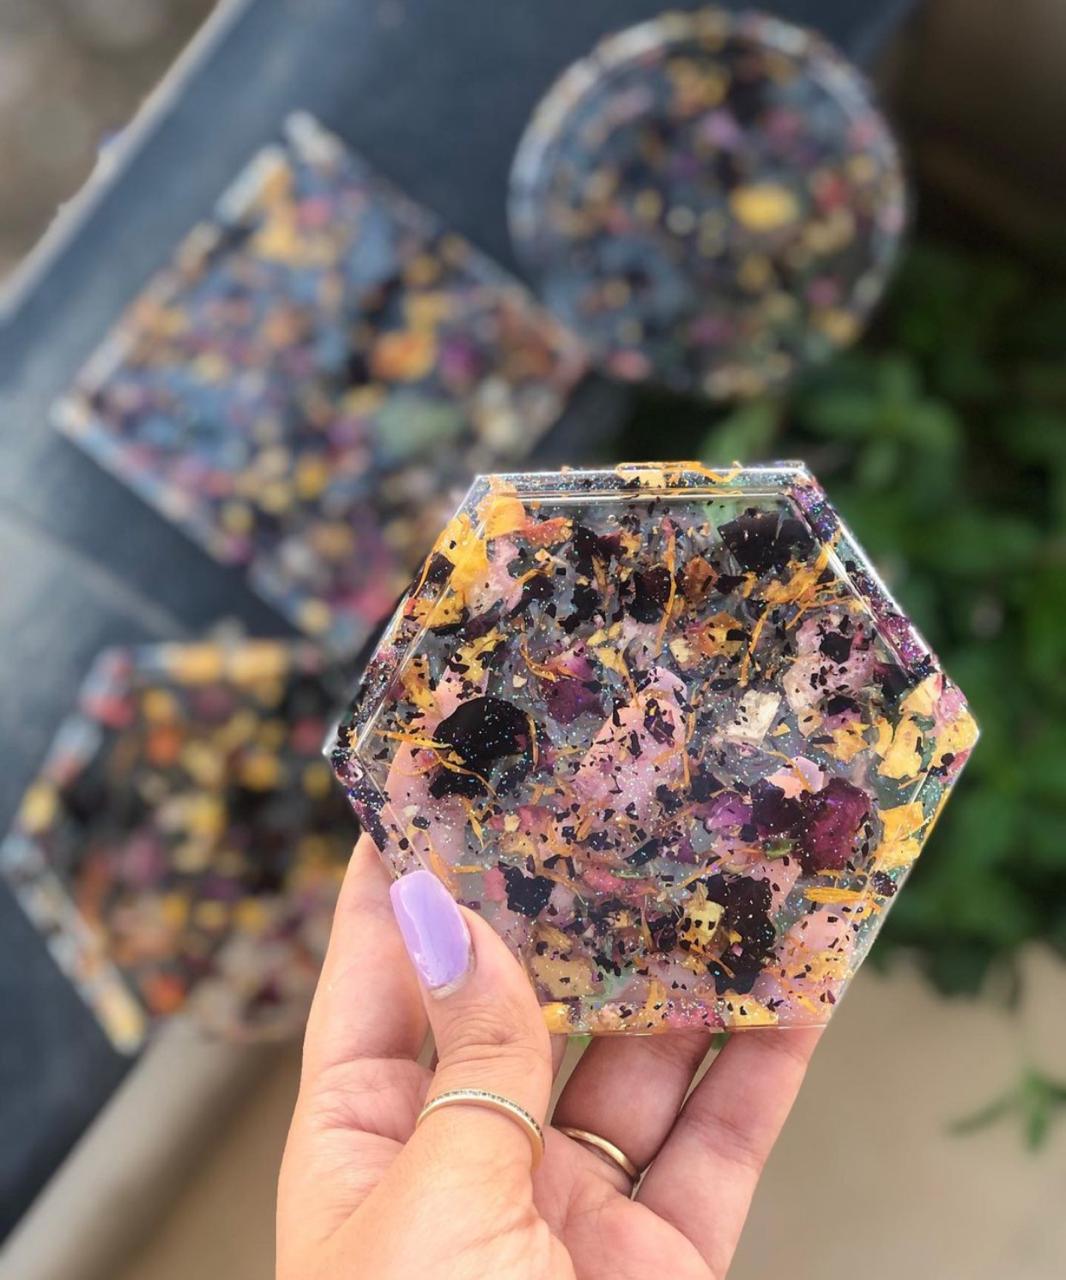
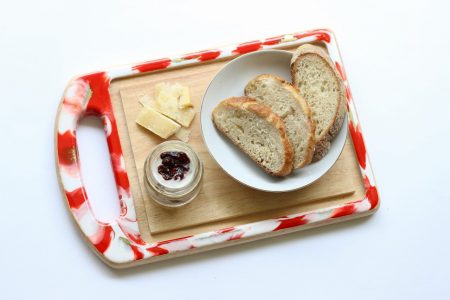
Create pieces with the Hakson’s Resin art mould, with concrete or with anything else.
With the Haksons Silicone, you can create any moulds you like, whether with the impression of a vintage coin or your favourite shell, or anything else. The world is your oyster!
Check out some other super easy tutorials here!
Make sure to share what you created with us on our Instagram, and tag us to win a chance to get featured in our weekly shoutout!
Leave a comment
This site is protected by reCAPTCHA and the Google Privacy Policy and Terms of Service apply.