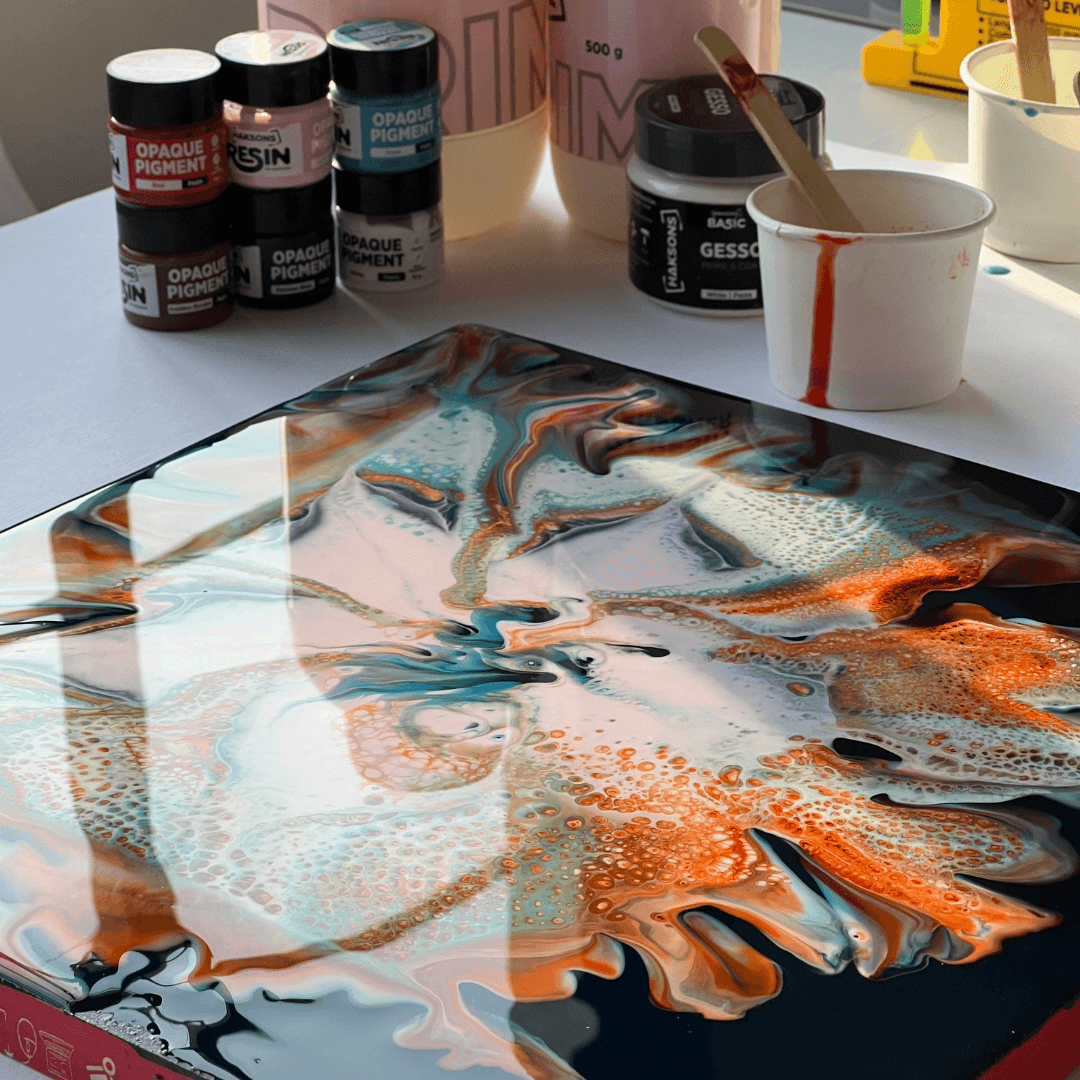
Welcome to Day 7 of our 100 Days 100 Designs challenge! Today, we’re excited to share our latest creation – an abstract resin artwork featuring beautiful cell formations and vibrant colors.
Materials Used:
1. Ply Sheet (MDF recommended)
2. BohriAli Tape
3. White Gesso / Universal Primer
4. Black Acrylic Paint
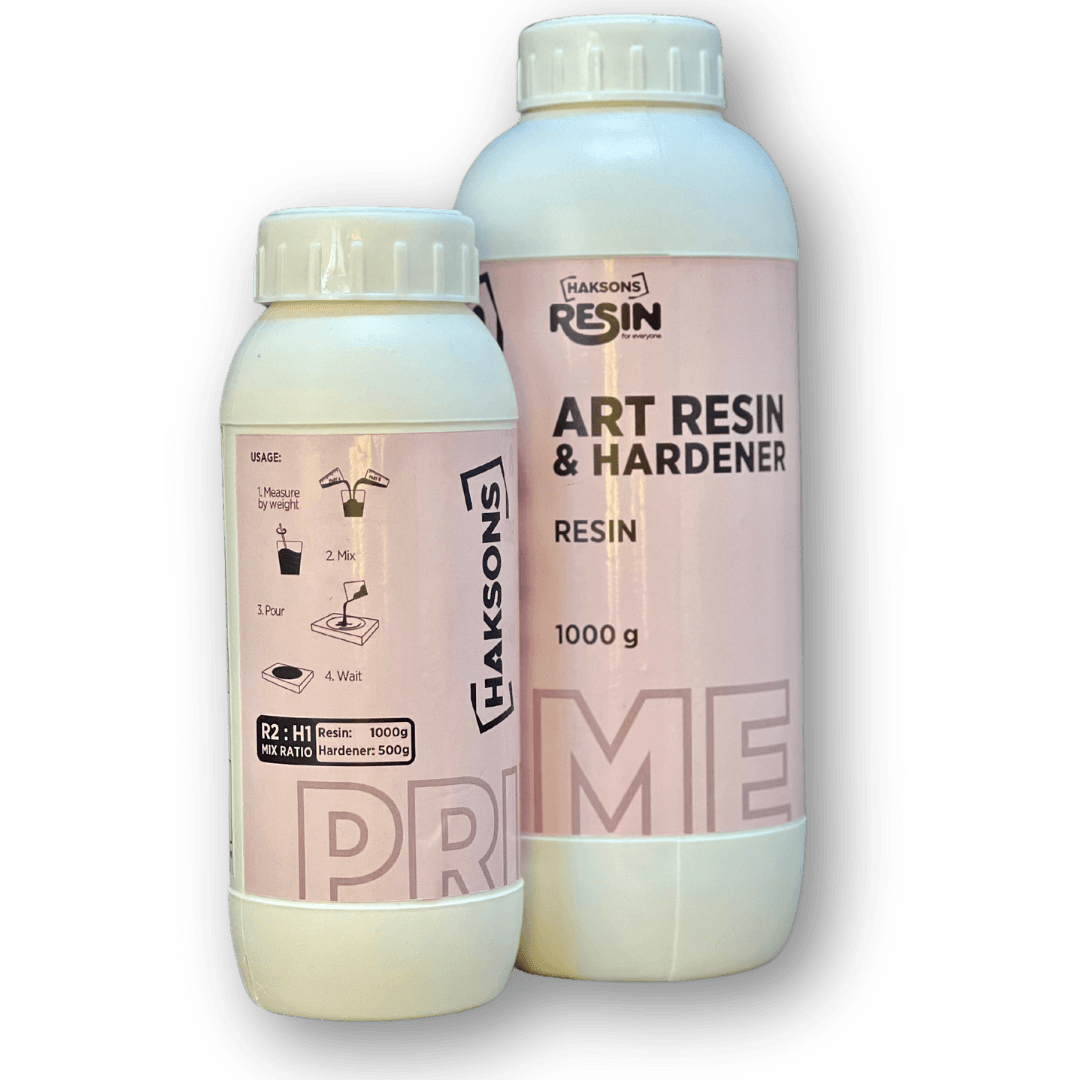
5. Prime Art Resin (2:1)
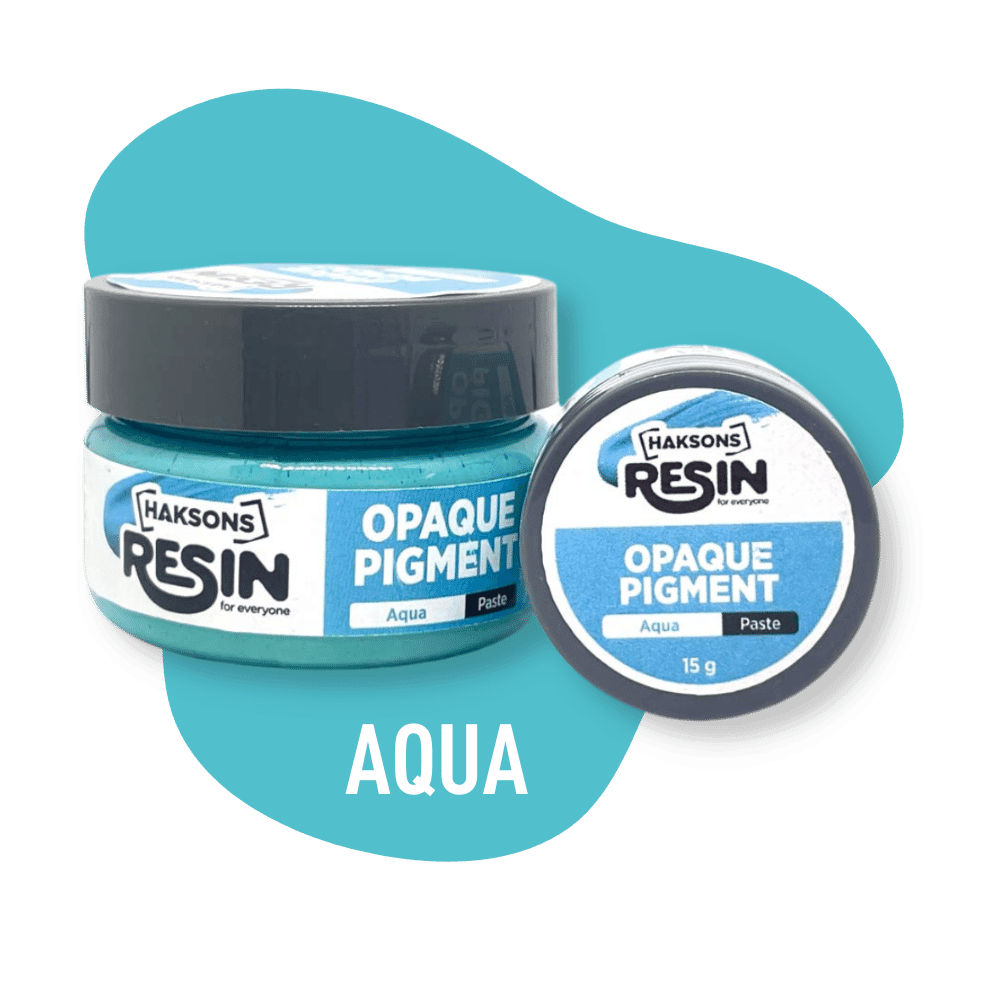
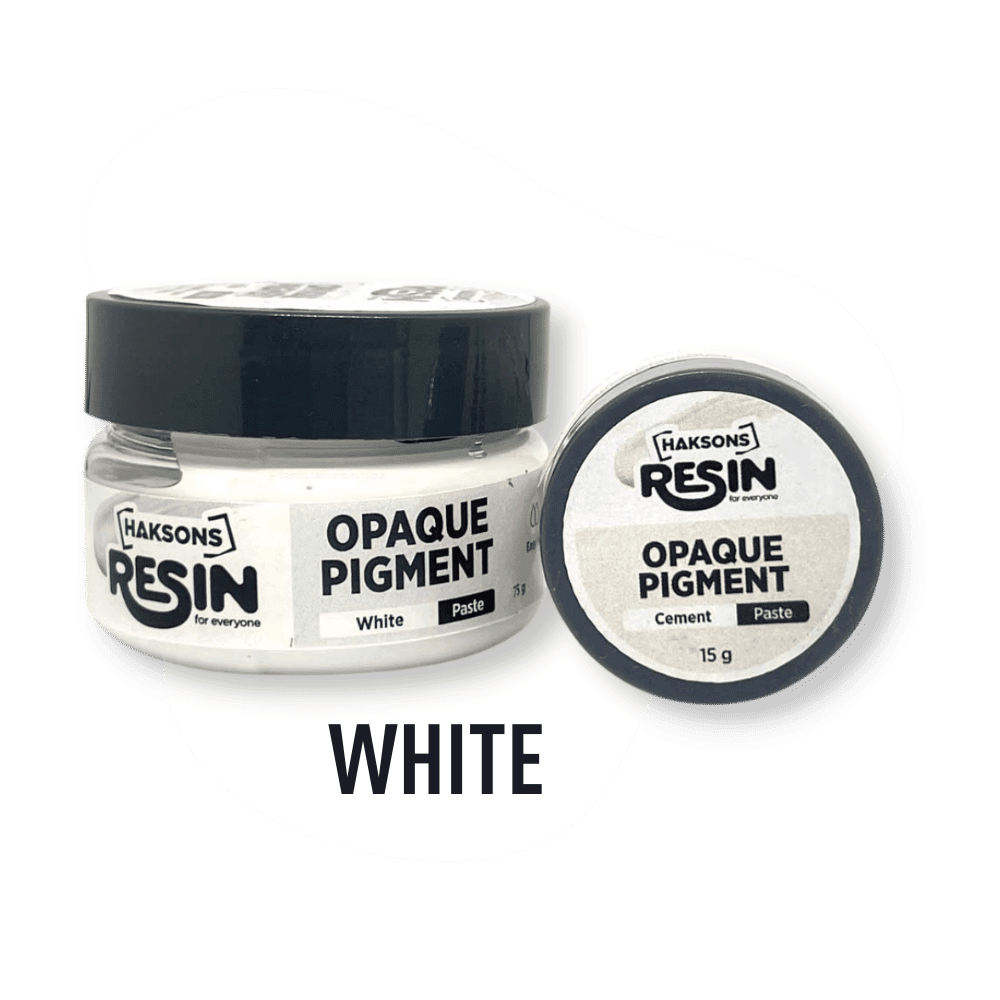
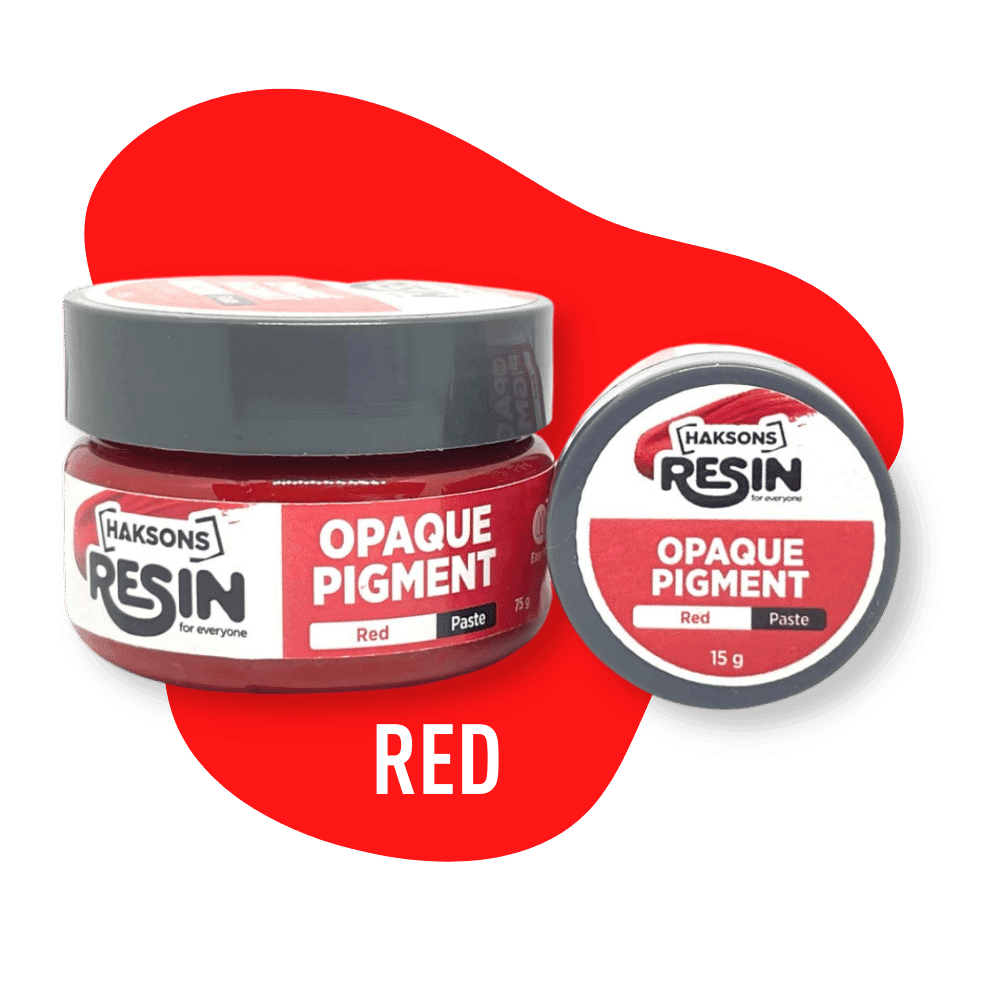
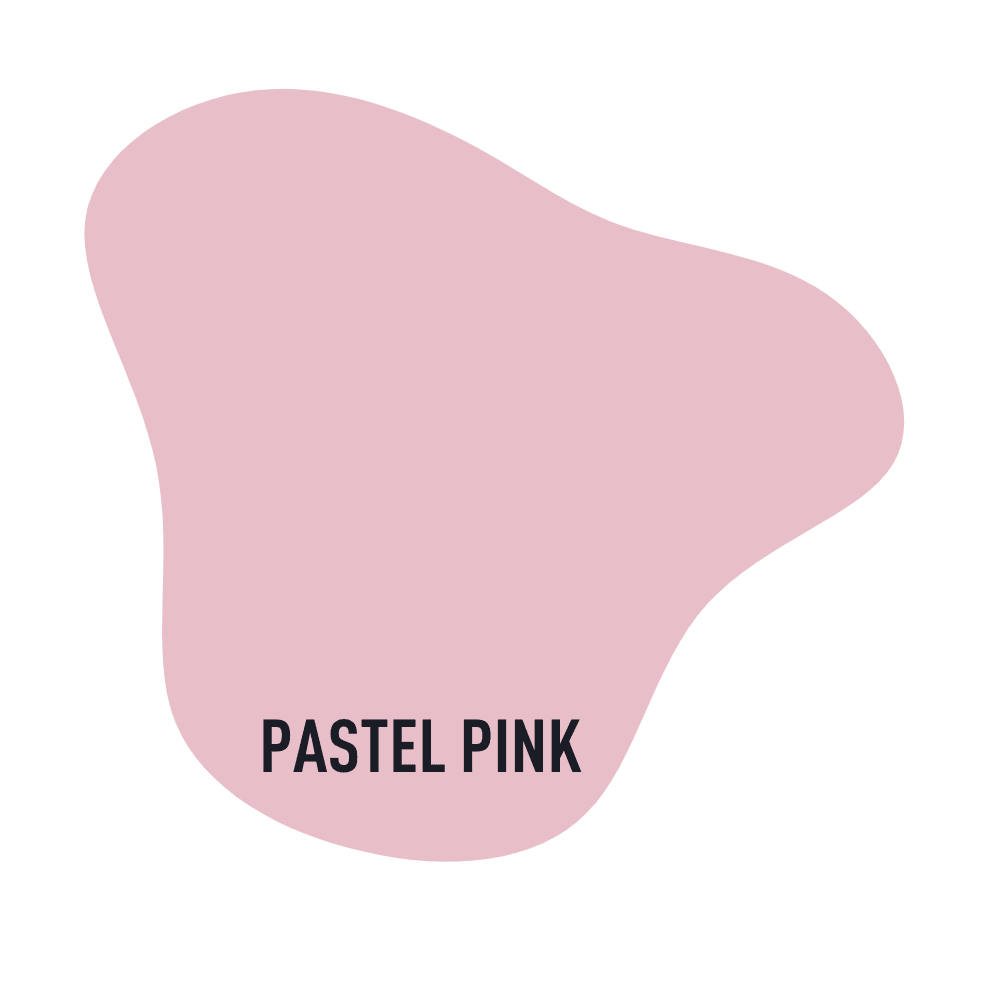
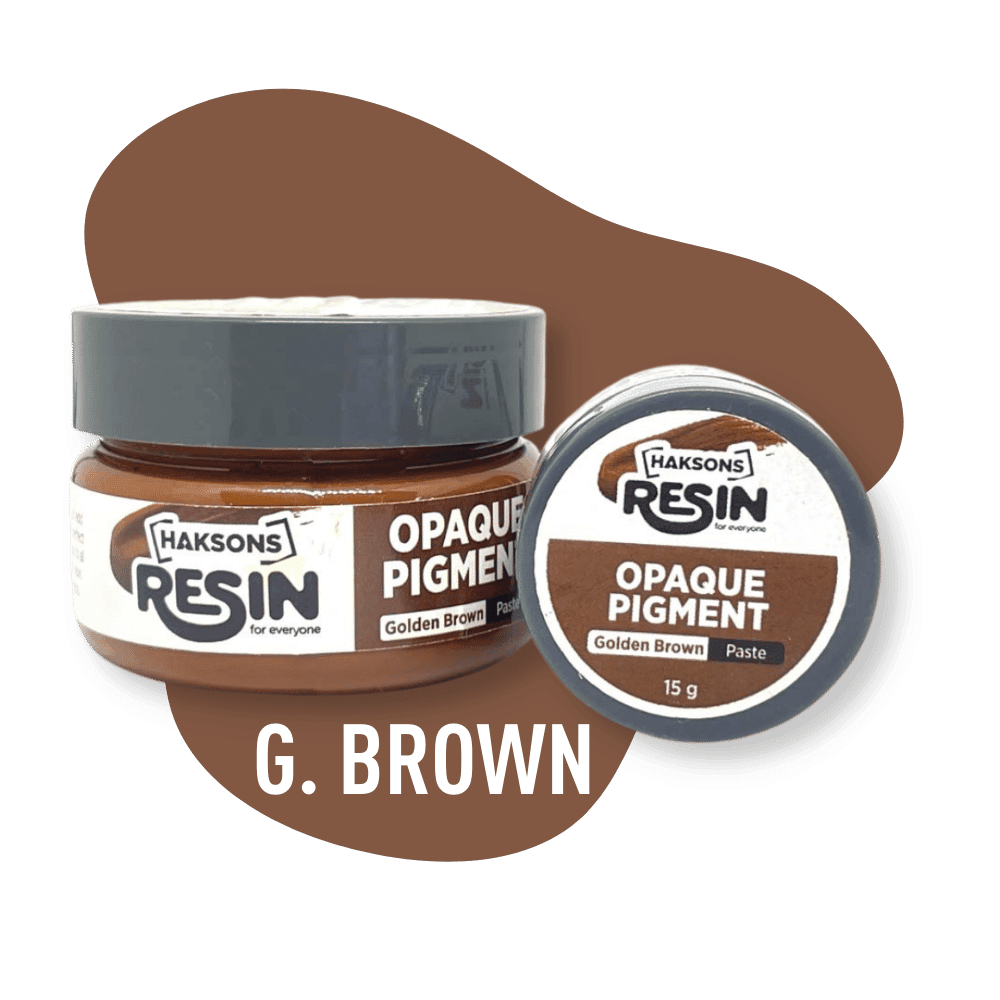
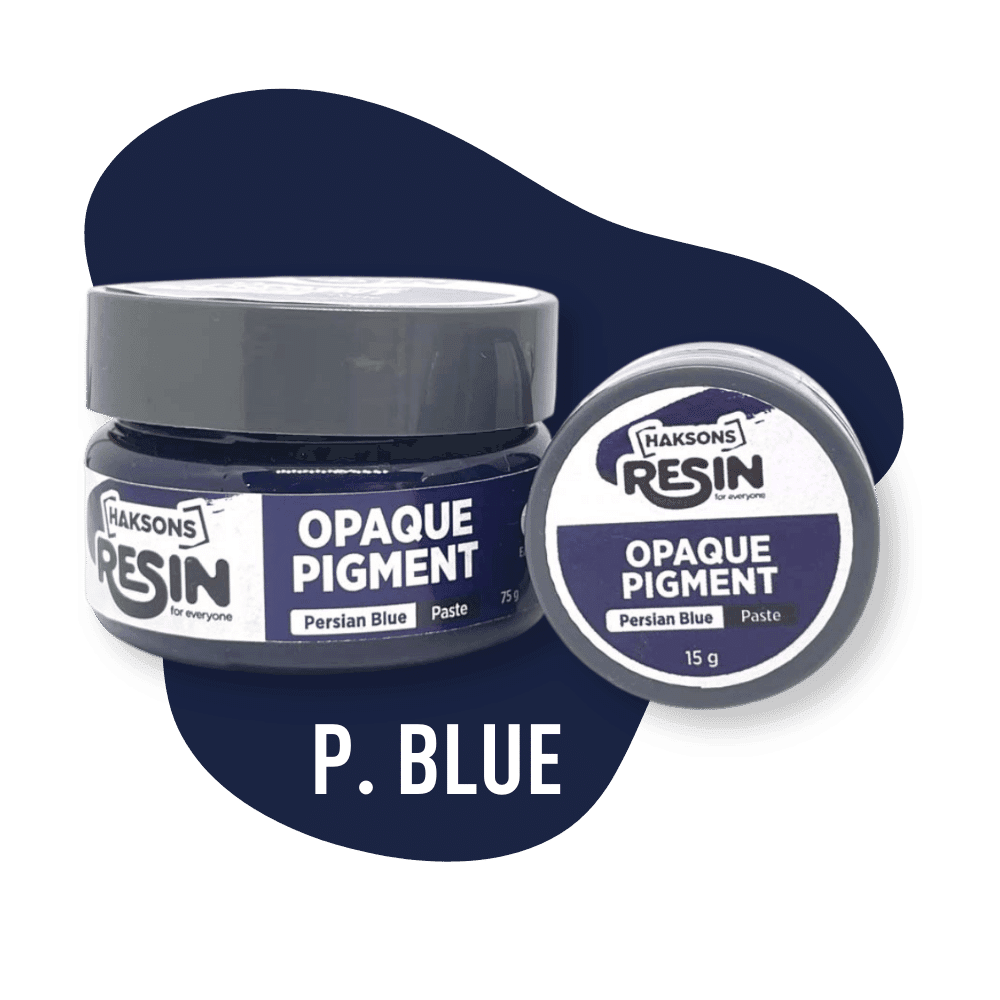
6. Opaque Pigments: Persian Blue, White, Red, Pastel Pink, Brown, Aqua
7. Plastic Bottle
Step-by-Step Process:
1. Preparing the Surface:
• We started with a ply sheet (MDF would be better and more economical).
• Ensured the surface was level using a level meter.
• Taped the sides to prevent resin overflow.
• Painted the surface with a mix of white gesso and black acrylic paint.
2. Pouring the Base Layer:
• Poured Prime Art Resin (2:1) mixed with Persian blue opaque pigment over the painted surface.
3. Creating the Central Pour:
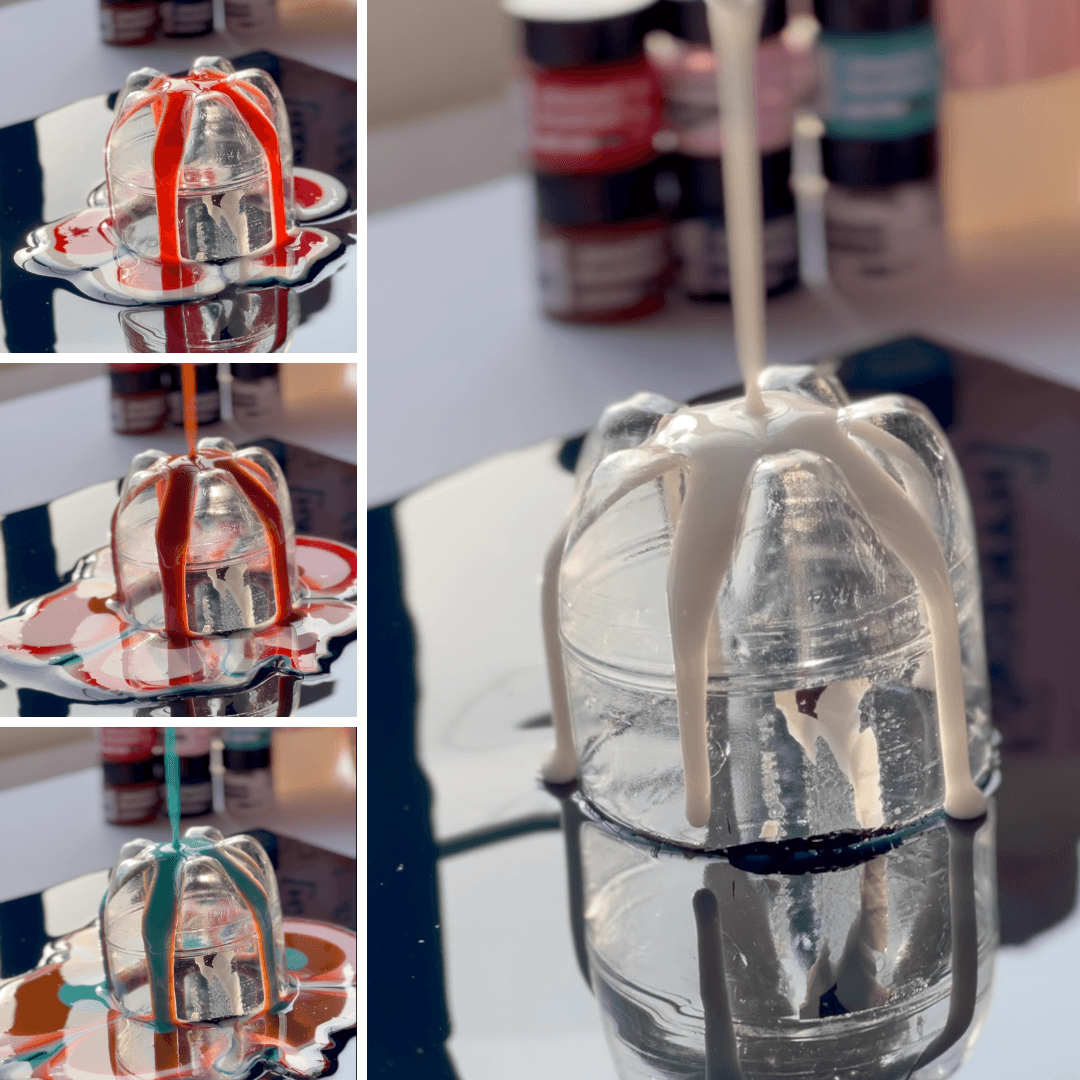
• Cut the end of a plastic bottle and placed it in the middle of the surface.
• Mixed different pigments with resin in separate cups.
• Poured the resin mixtures in the middle of the cut plastic bottle in the following order: white, red, pink, brown, aqua, and finished with a little white.
4. Forming the Petals:
• Removed the plastic bottle and allowed the resin to flow slightly (Prime Art Resin’s high viscosity limits flow).
• Used a candy stick to create petal-like formations by running it through the resin.
5. Creating Cells:
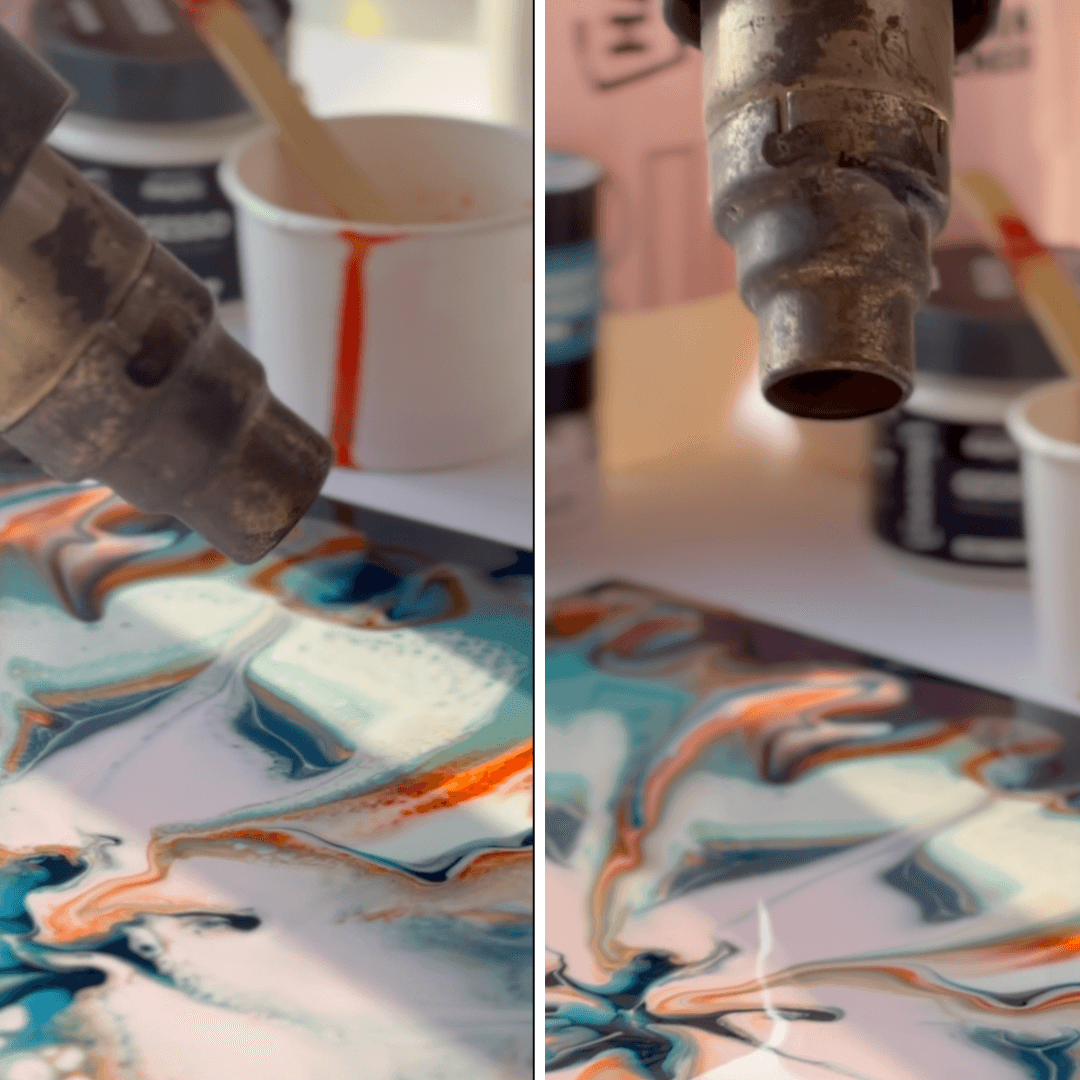
• Used a heat gun or hair dryer to blow over the resin, creating beautiful cells and adding an abstract look.
Conclusion:
Creating this abstract resin artwork was a fun and insightful process. By following the steps above and experimenting with different techniques, you can create your own unique and stunning resin pieces. Don’t forget to check the link in our bio for more detailed tips and insights!
Ready to create your own vibrant resin artwork?
Shop our full range of Epoxy Resins now →
