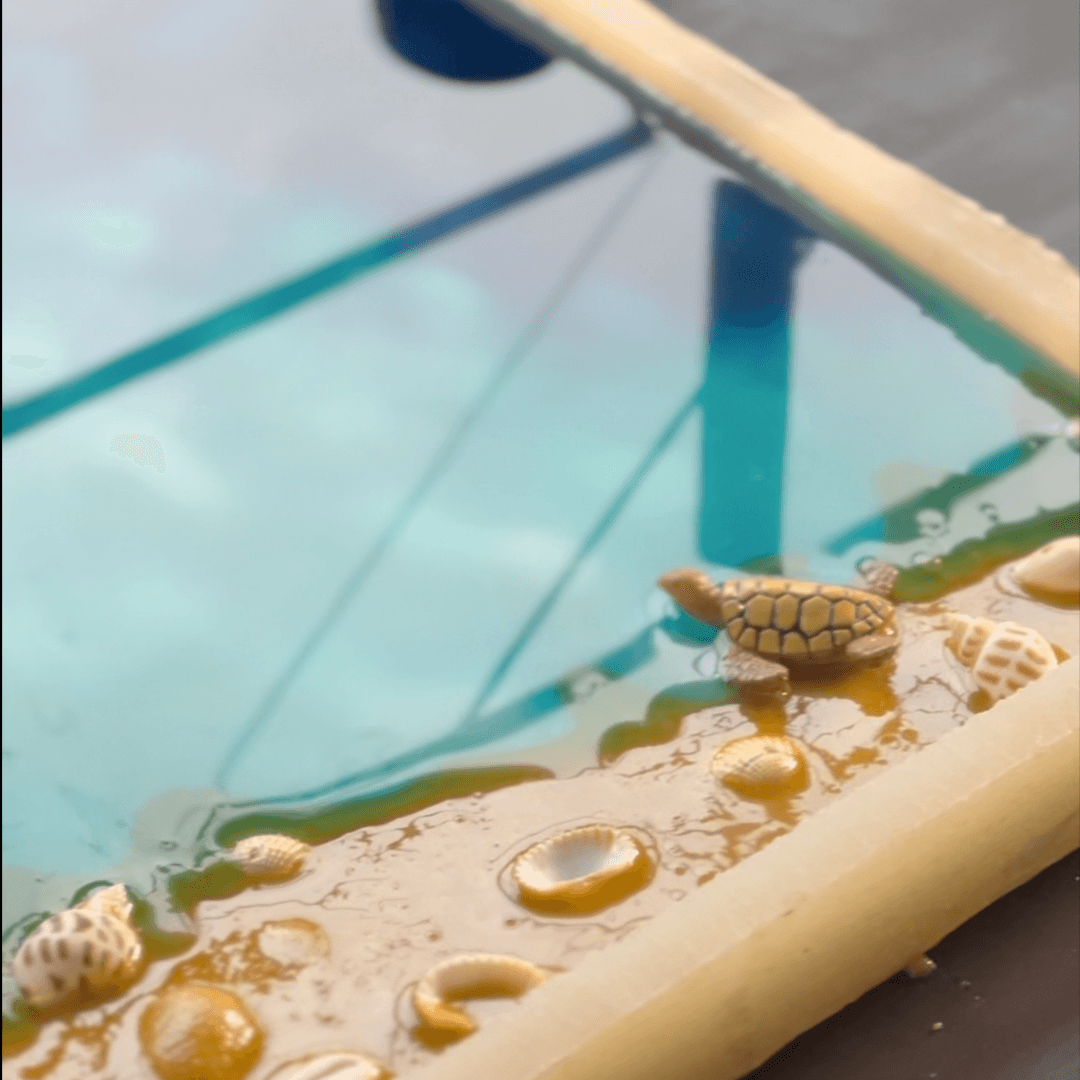
Welcome to Day 24 of our 100 Days 100 Designs challenge! Today, we’re excited to share our latest creation – a beach scene using a custom silicone mould, sand, and various resin techniques.
Materials Used:
1. Custom silicone mould
2. Sand
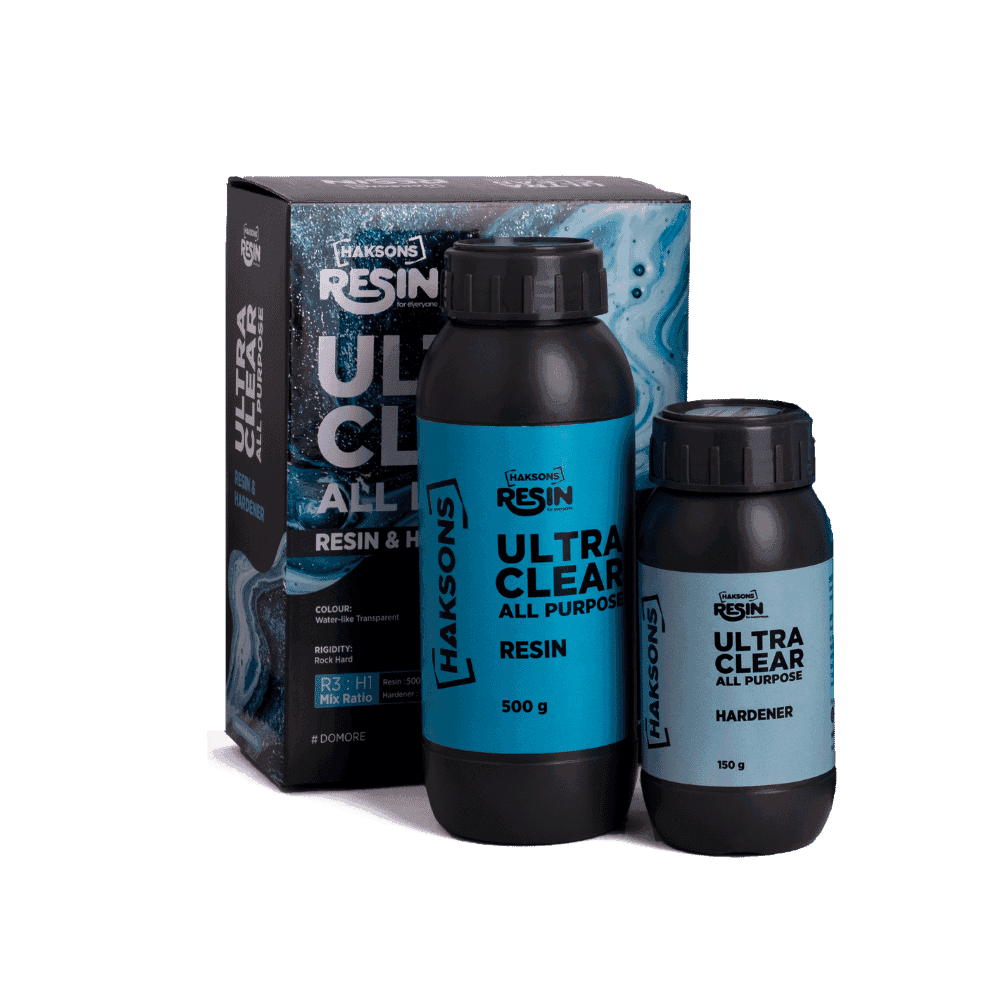
3. Haksons Ultra Clear Resin
4. Yellow ochre opaque pigment
5. Miniature turtle and sea shells
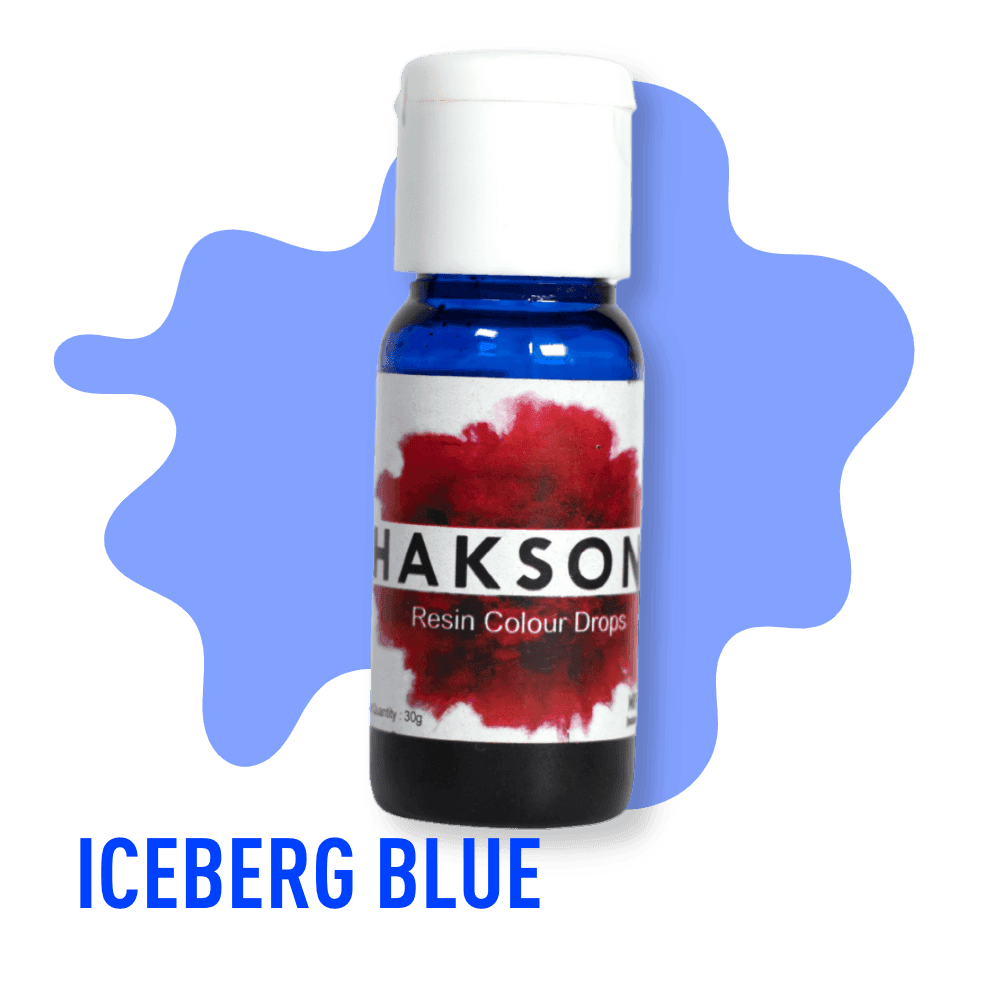
6. Colour drops: iceberg blue and aqua concentrated pigments
7. Haksons opaque white pigment
8. Heat gun / hair dryer
Step-by-Step Process:
1. Creating the Sand Effect:
We mixed sand with Haksons Ultra Clear resin and yellow ochre opaque pigment to give a sand effect. We poured it towards one side of the mould.
2. Adding Miniature Decorations:
We placed a miniature turtle along with some sea shells to give a beach effect and waited for the resin to cure.
3. Pouring the Water Effect:
We mixed colour drops (iceberg blue and aqua concentrated pigments) in two different containers with Haksons Ultra Clear resin. We poured the lighter shade near the sand and the darker shade away from the sand, then waited for it to cure.
4. Creating the Wave Effect:
We topped it with a layer of clear resin (Ultra Clear) and mixed Haksons opaque white pigment with the resin. We poured it where the sand met the water to create a wave effect, then used a heat gun or hair dryer to spread the waves. After it cured, we poured one more layer of clear resin to finish.
5. Finishing Touch:
The mould had bumps inside to give the refraction of the blue resin when there is light over it, enhancing the water effect.
Mistakes and Improvements:
Using AC730 would have enabled us to get a better finish as there would be no colour variations after acid etching. With AC100, we manually mix pigments, so the second layer had a colour variation.
Ready to create your own vibrant resin artwork?
Shop our full range of Epoxy Resins now →
